For a day at the beach or a shaded picnic, my dolls needed an umbrella. Here is what came up:
Note the article below contains affiliate links. It helps me out if you use them, no worries in any case.
Supplies:
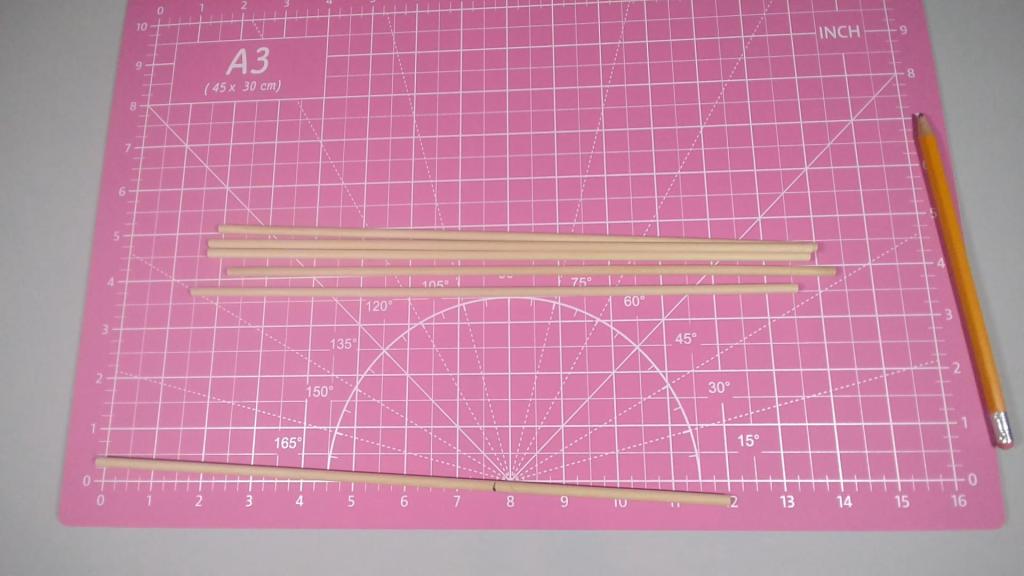
3/16″ Dowel Rods (6 count x 12″ long)
1/4″ Dowel Rod (1 count x 16″ long)
Saw, Drill, Ruler/Cutting Board, Scissors, Wire Cutters, Craft Mat, Pencil, Paperclip, String
My Process:
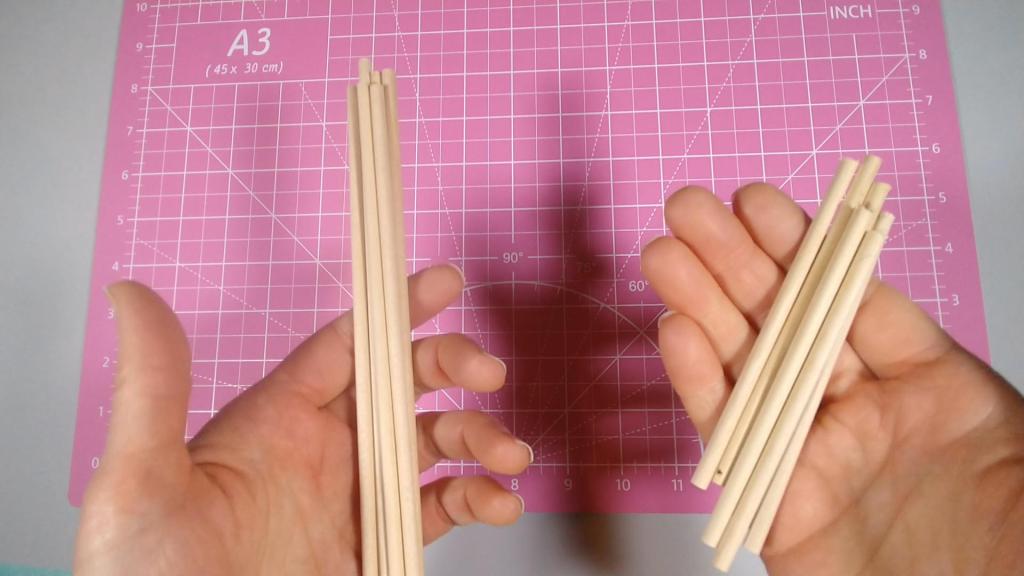
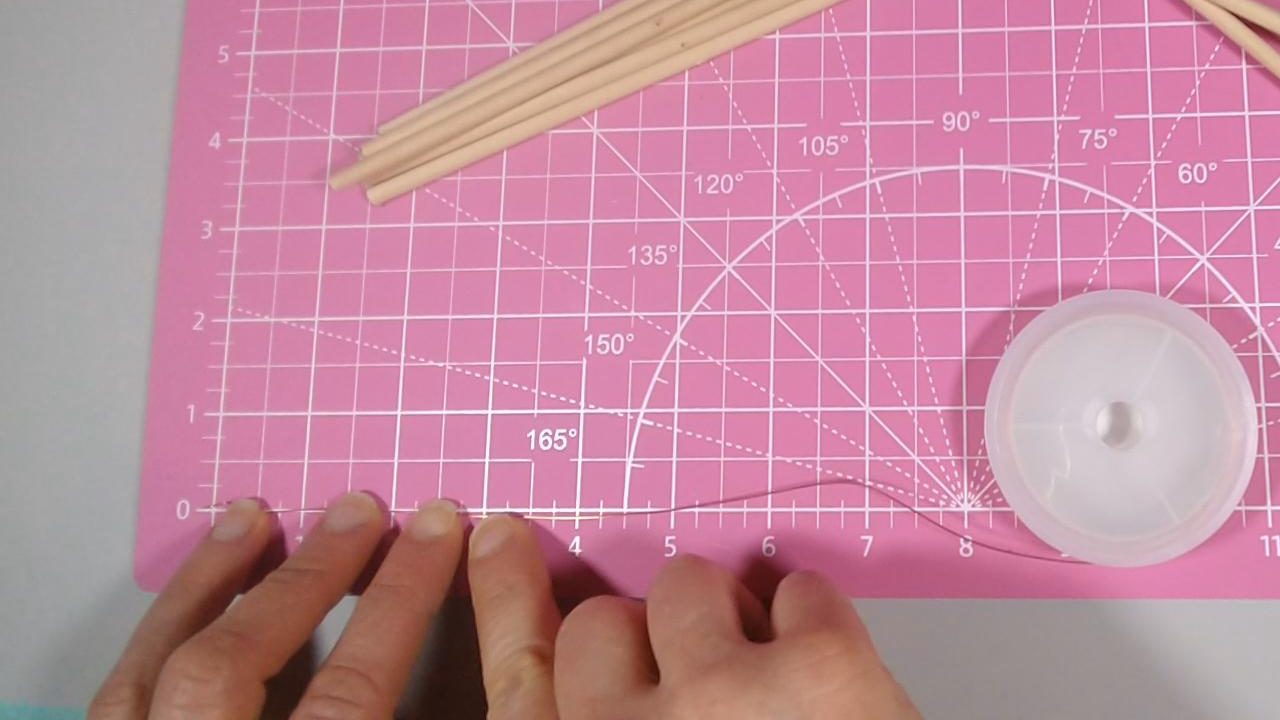
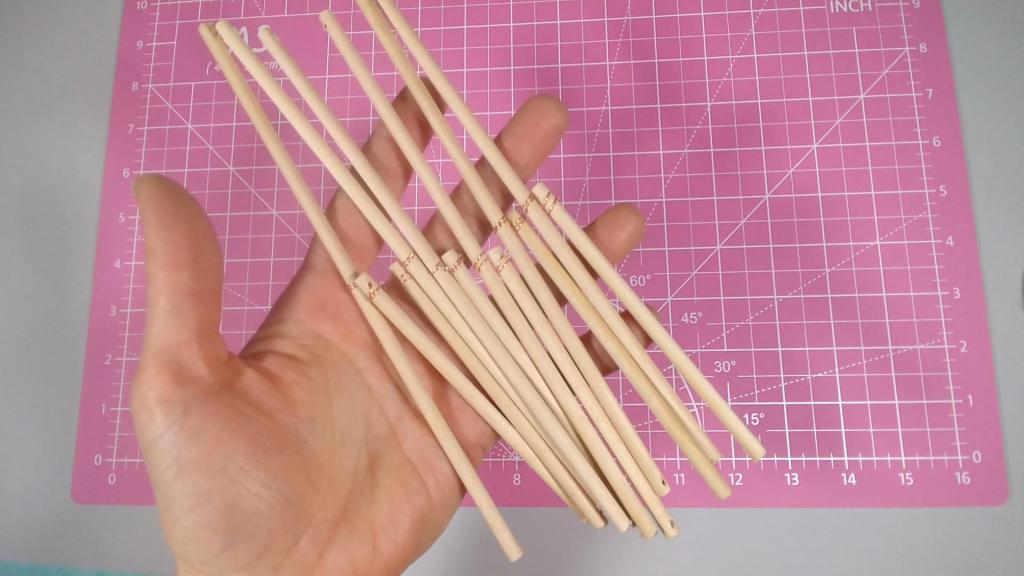
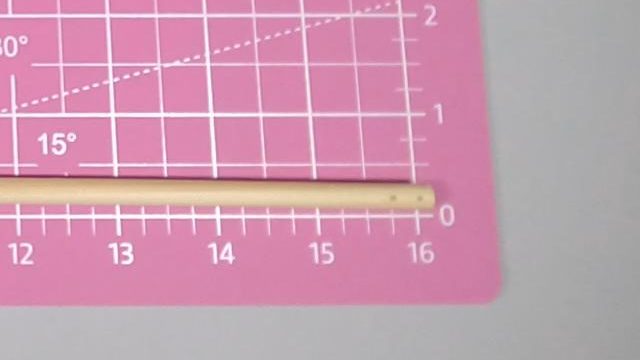
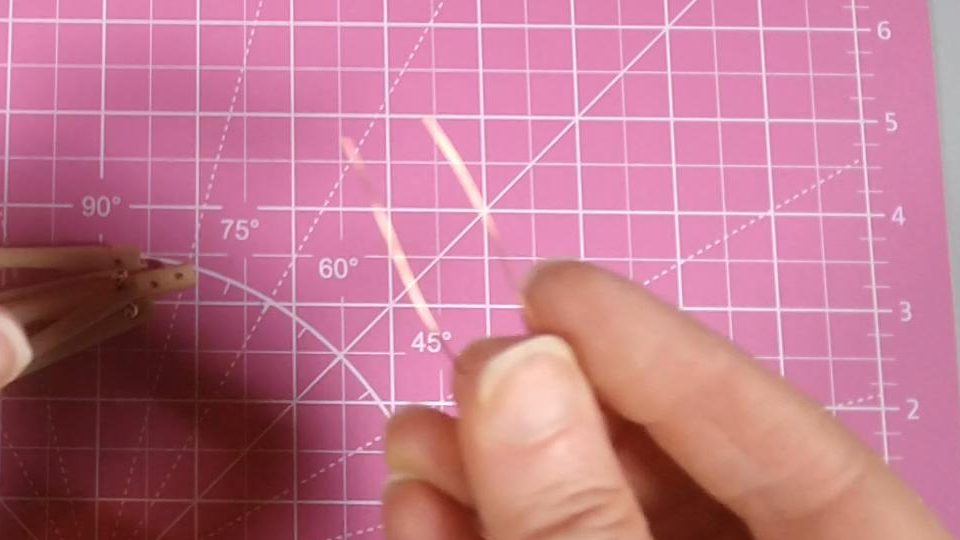
First, I took six, 3/16″ dowel rods (12″ each in length), and measured and cut them at the 7.75″ mark. This gave me two sets of dowel rods, one set 7.75″ long, the other 4.25″ long.
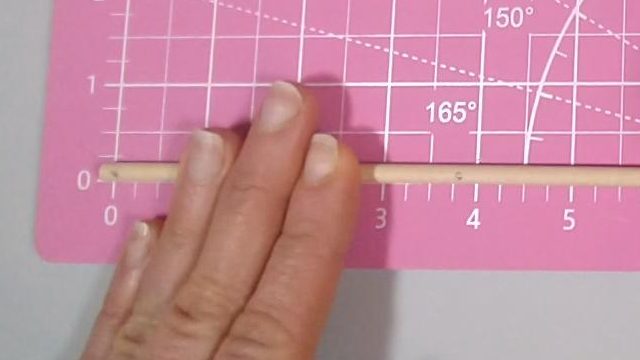
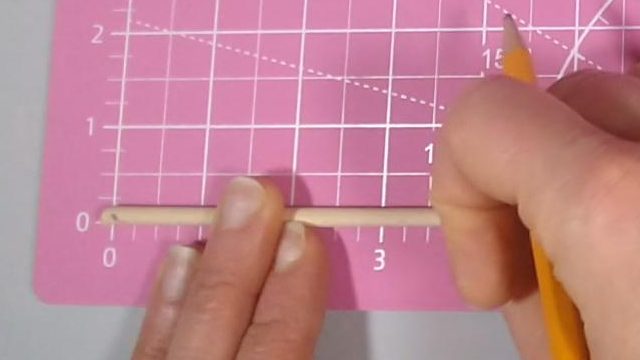
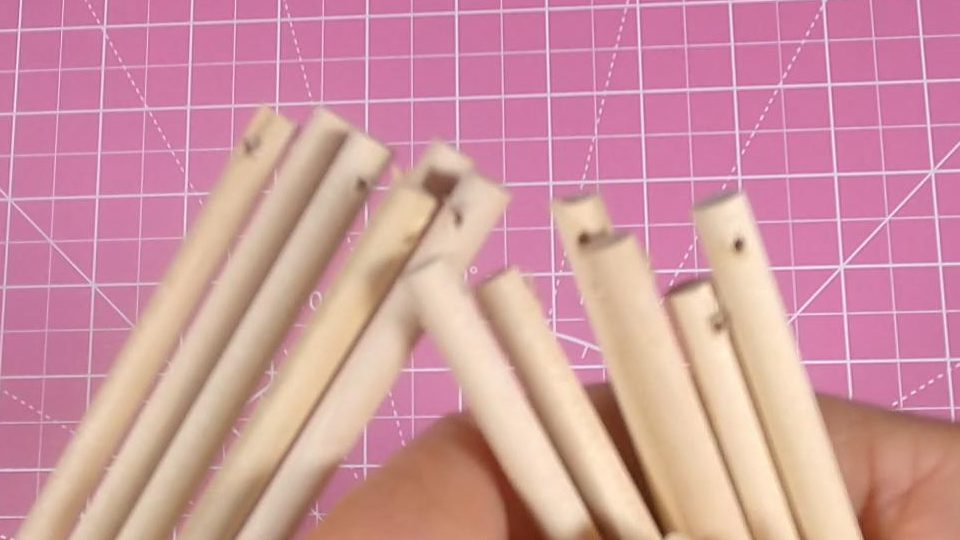
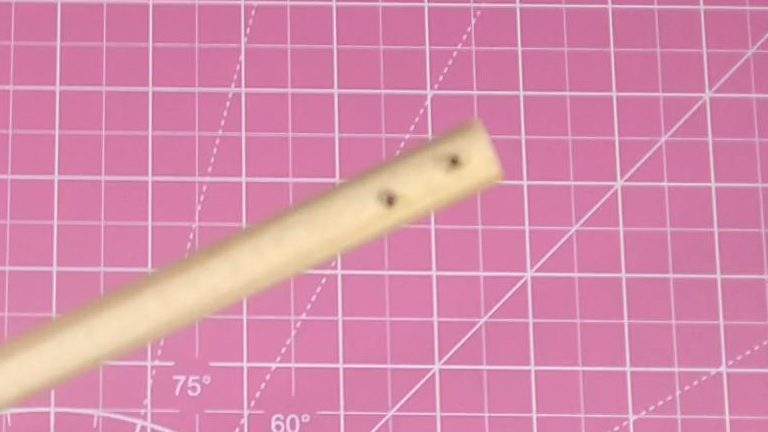
Next, I marked dots 1/8″ from each end of the short dowel rods, and on only one end of the longer dowel rods. I then also marked a dot at the center (3.875″) of the long rods. I made sure the dots were all facing the same direction.
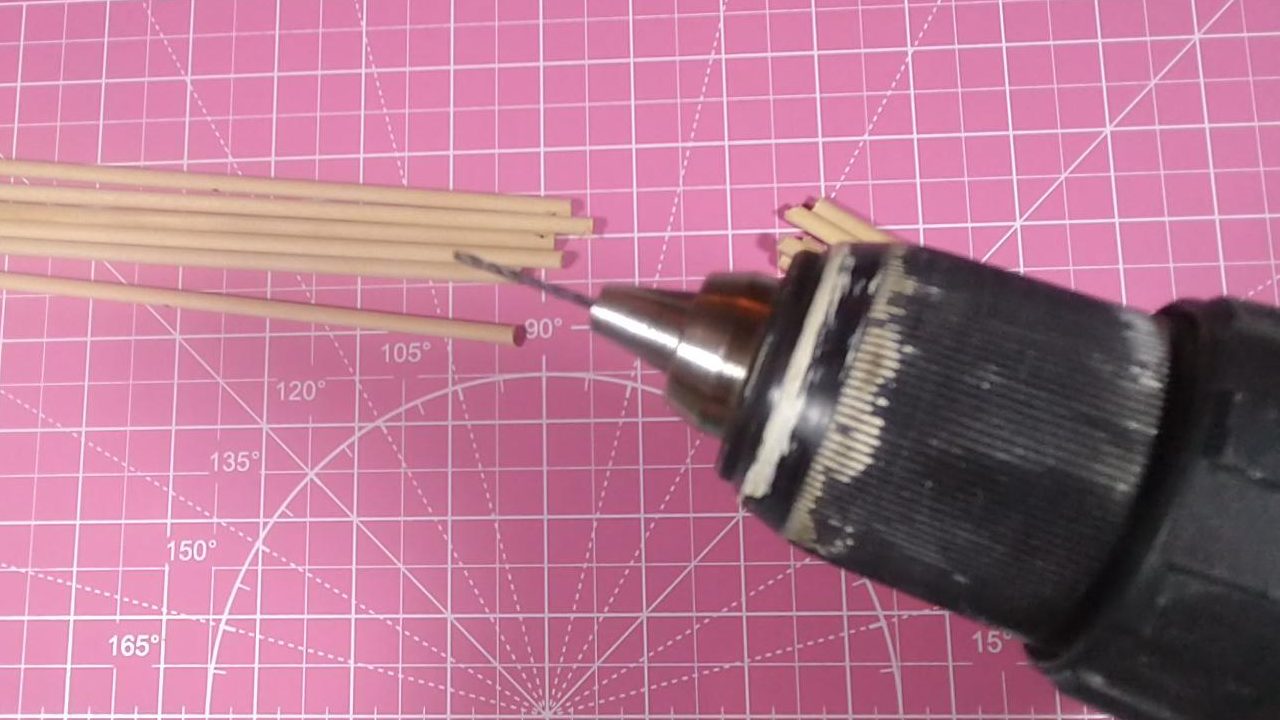
Then I drilled holes through the rods at each of the dots using a 1/16″ drill bit.
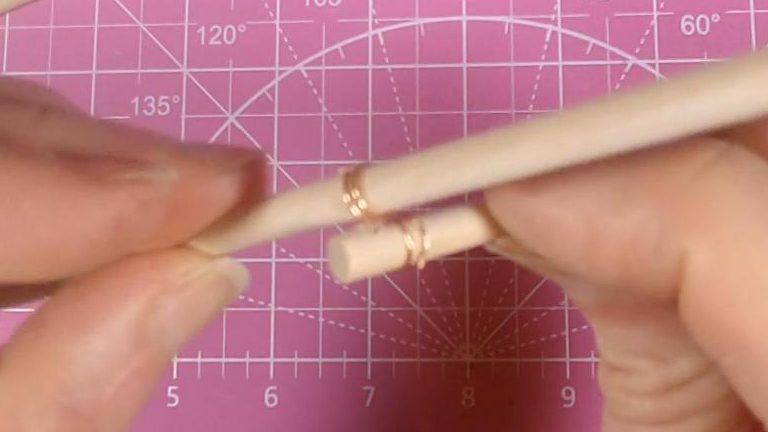
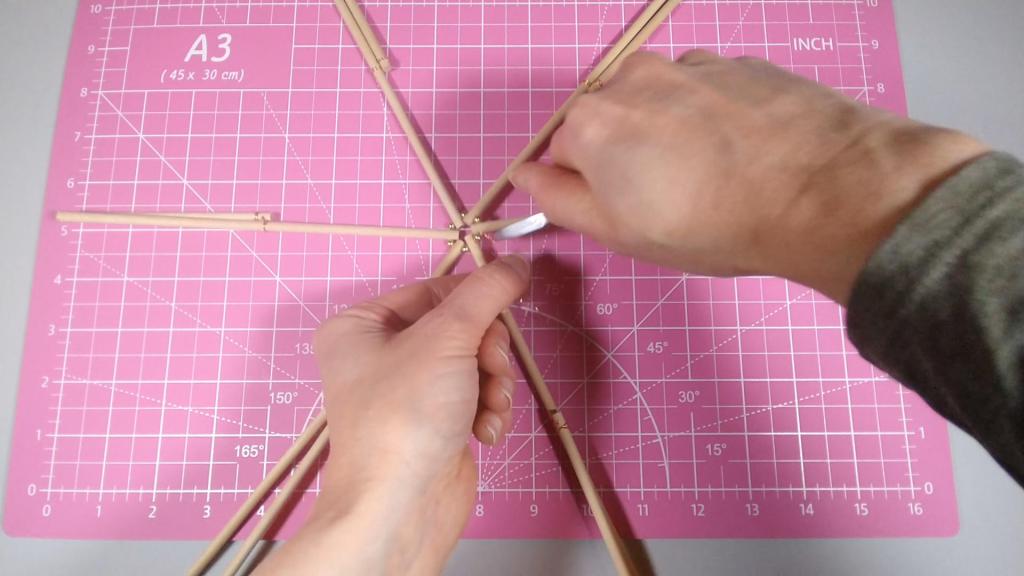
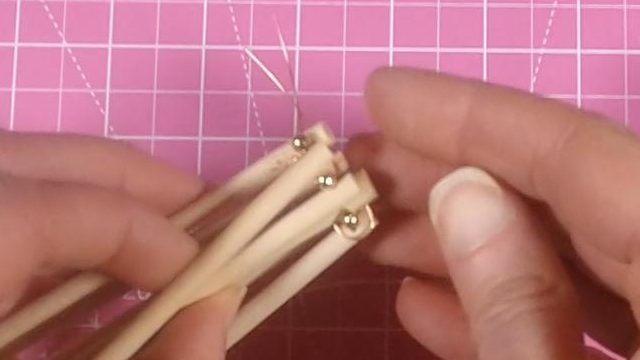
Next, I cut a 3″ piece of craft wire and threaded it through the middle hole of one of the longer dowel rods.
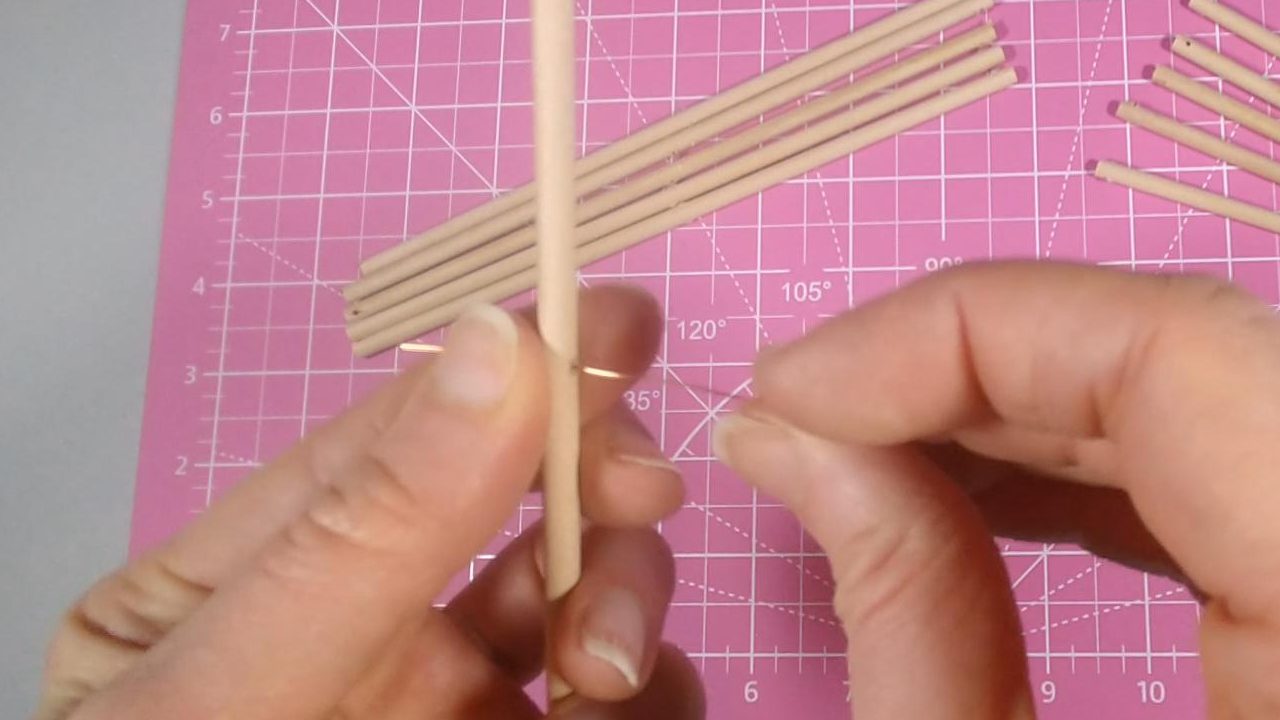
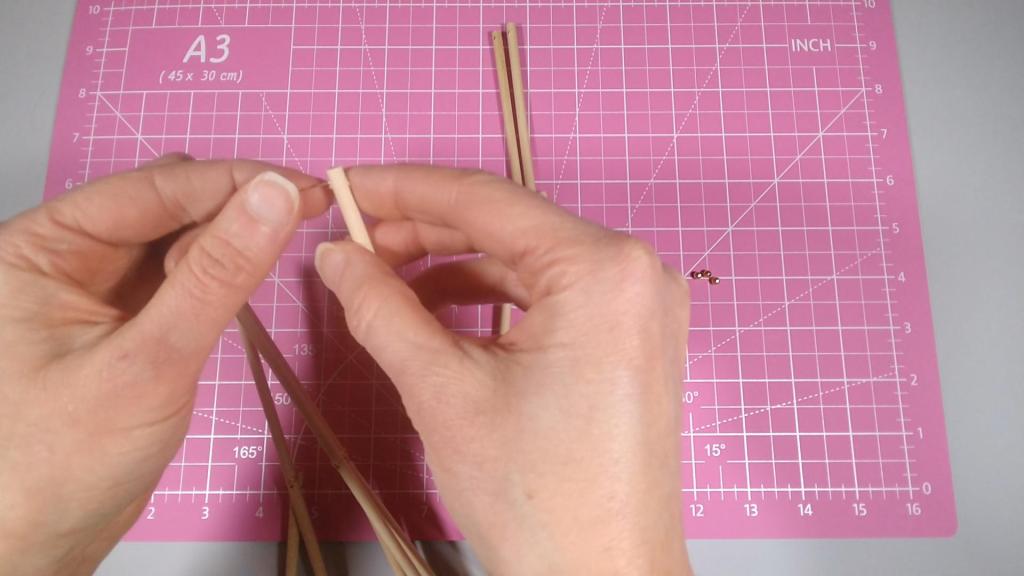
I then threaded one of the shorter dowel rods onto the wire, and wrapped each end of the wire around each respective dowel rod.

I repeated this process for the other five sets of dowel rods.
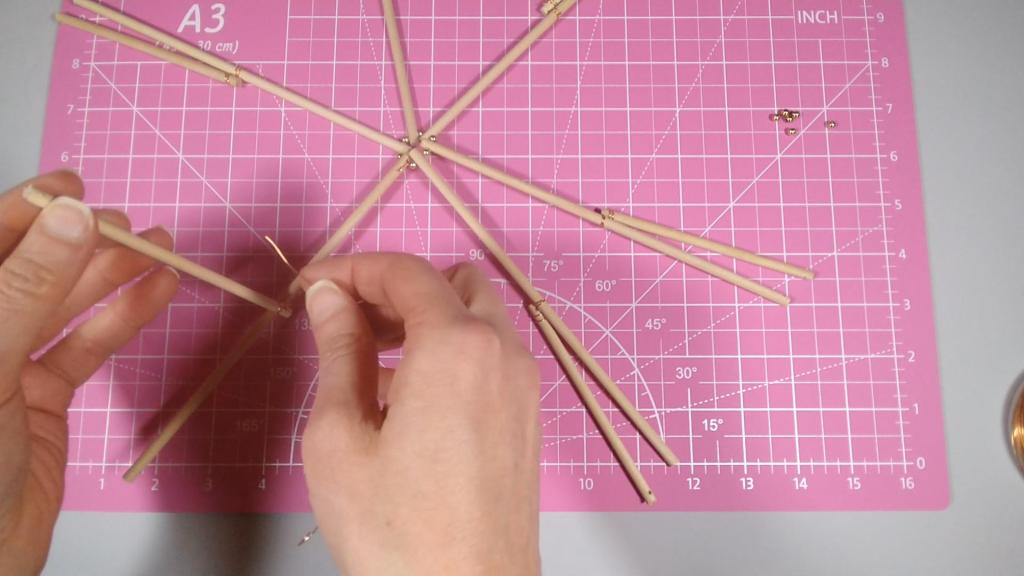
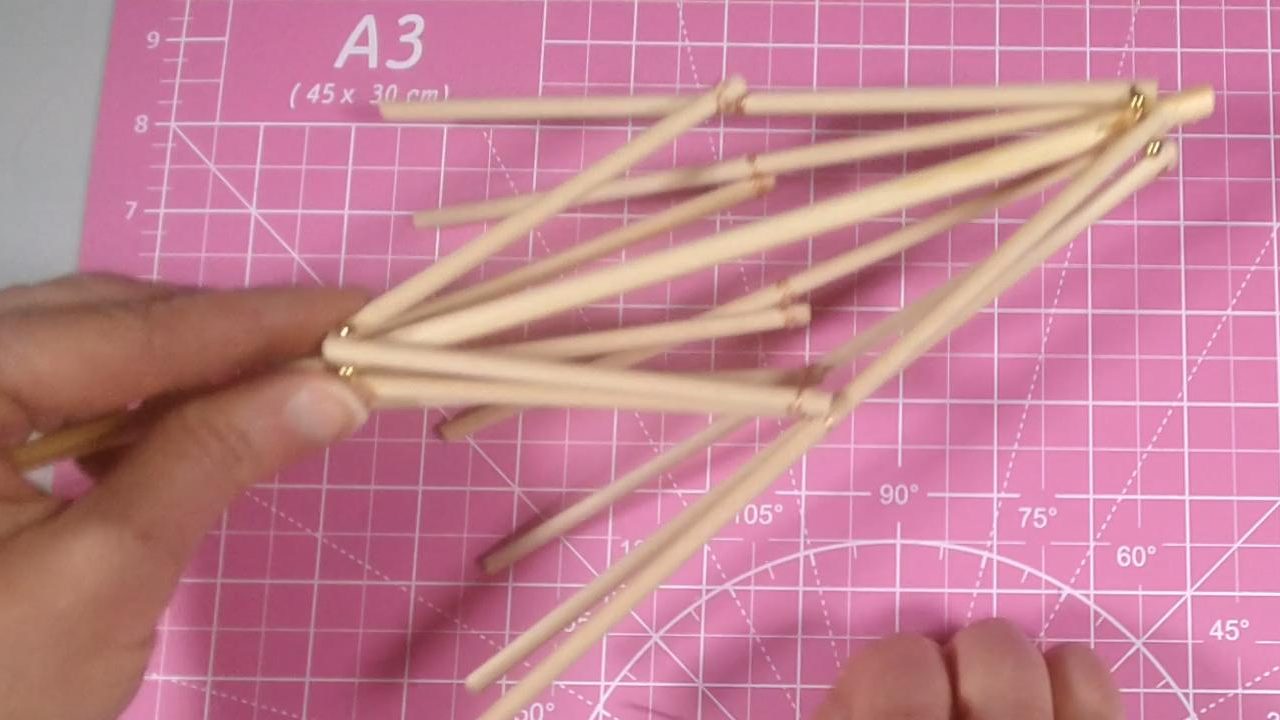
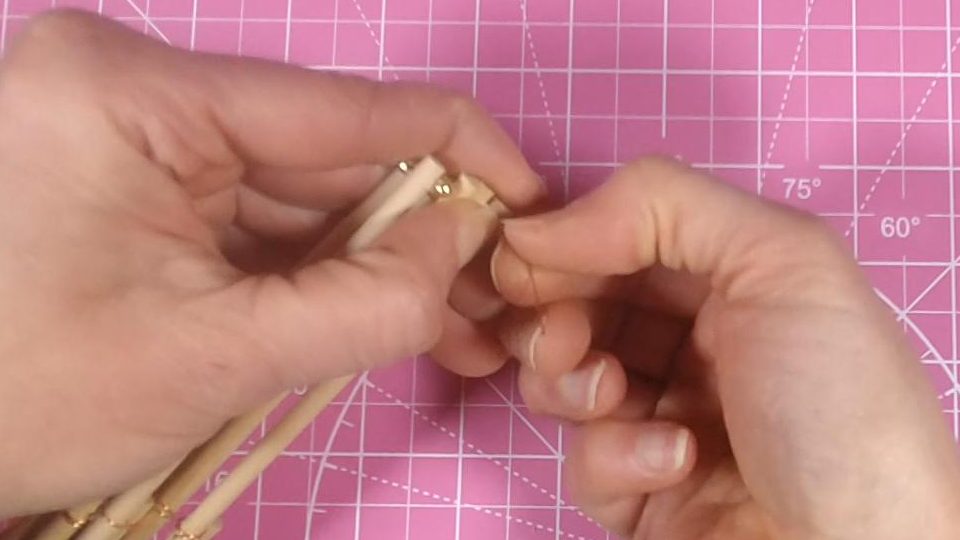
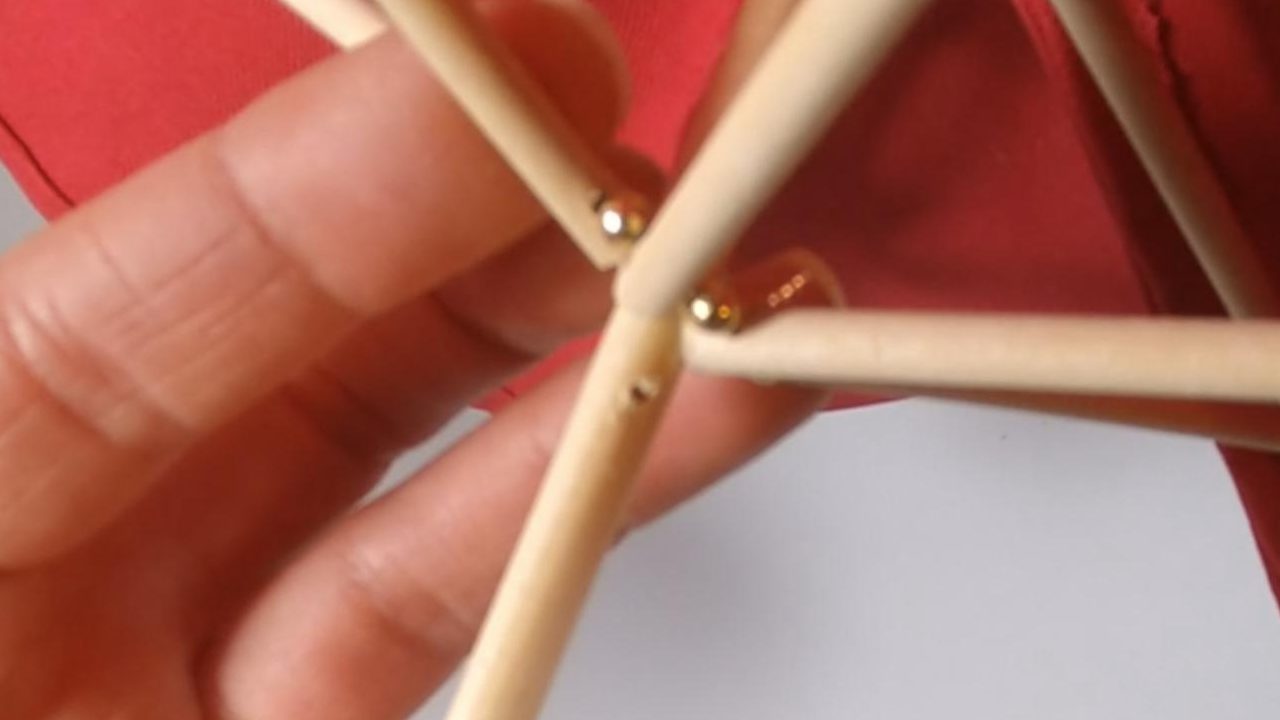
Next, I cut a 6″ length of wire and strung each of the larger dowel rods onto the wire, alternating with a 3 mm bead.


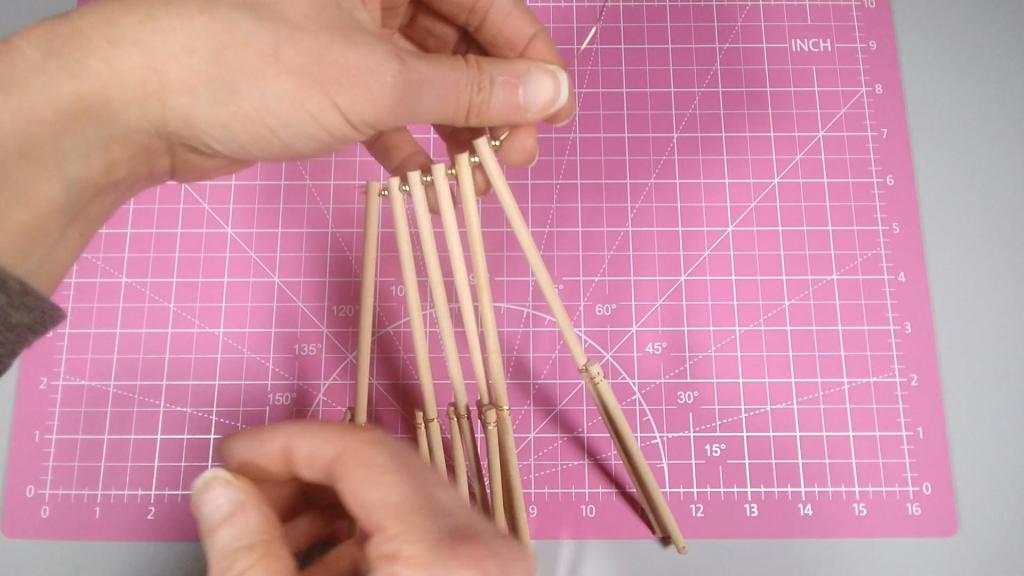
I twisted the ends of the wire together and cut off the excess.

Next, I cut another 6″ length of wire and this time strung together the ends of the shorter dowel rods, alternating with 3 mm beads.

I twisted the ends of the wire together and trimmed the excess.

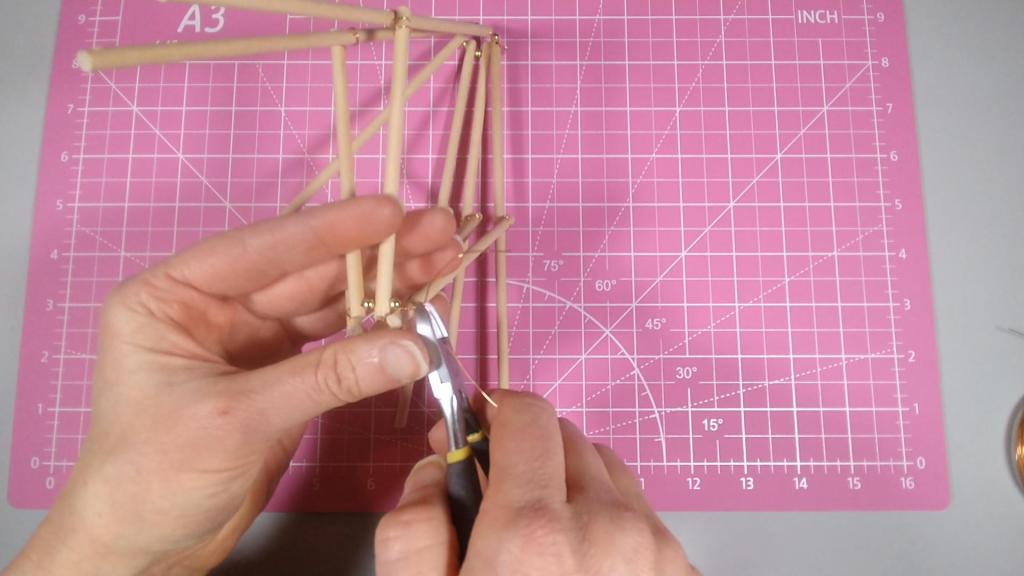
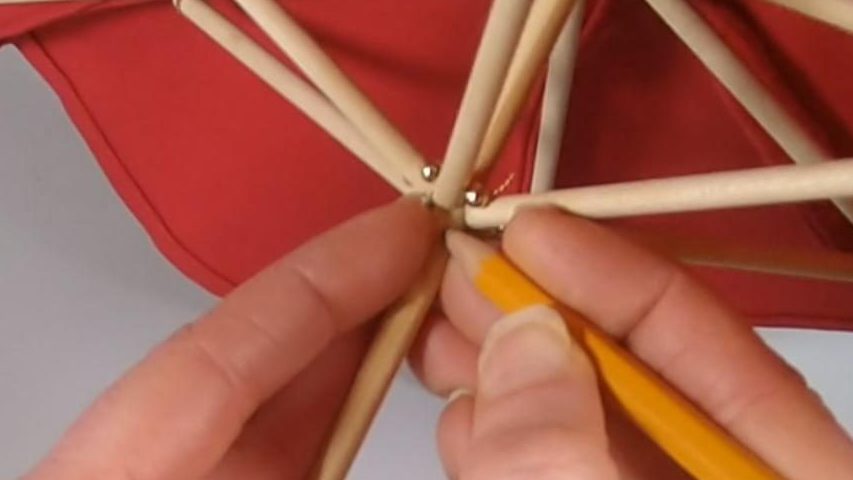
This completed the top of the umbrella frame. It was now time to add the umbrella pole.

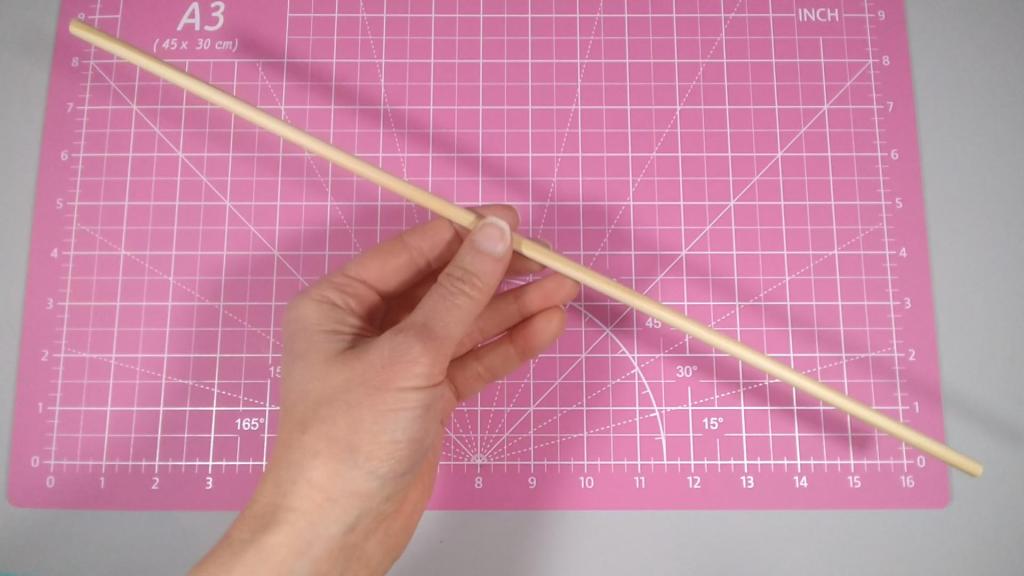
I took a long 1/4″ dowel rod, and cut it to 16″ long. I then marked two dots at one end, at 1/8″ and 3/8″ from the end. I drilled holes at these spots.
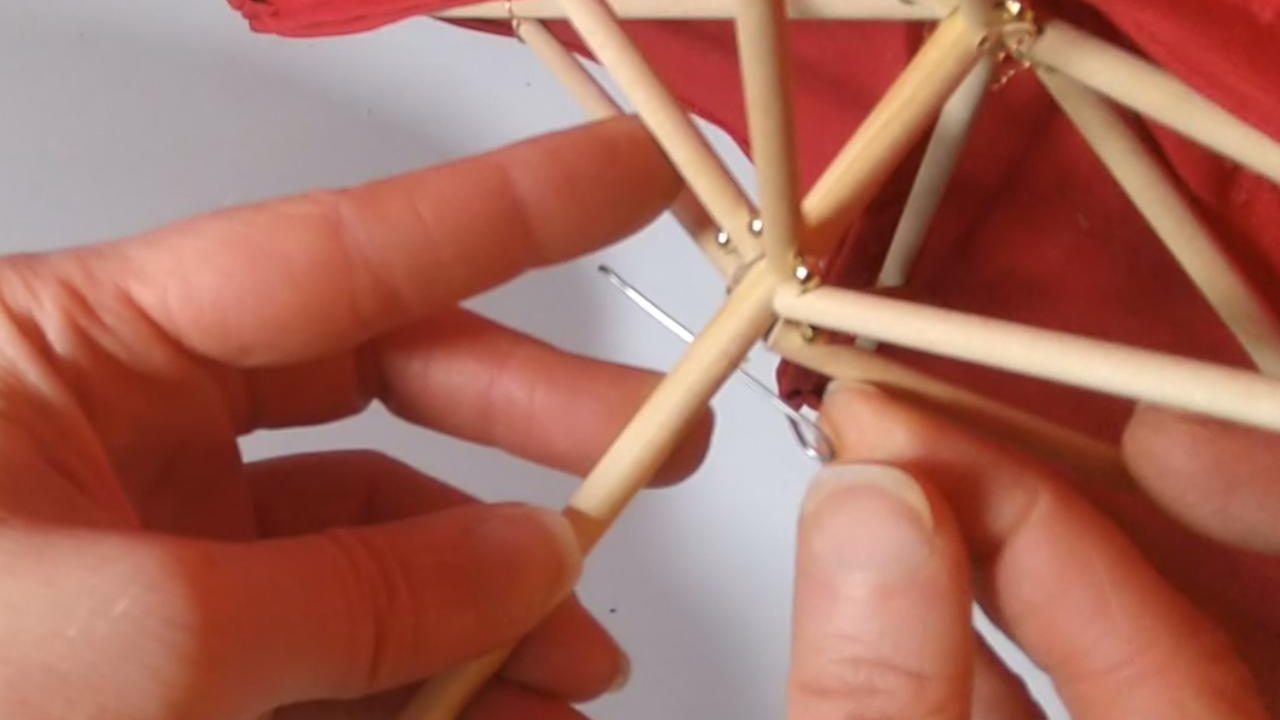
I lowered the canopy frame onto the umbrella pole. I then cut a piece of wire about 4″ long, and shaped it into a long U-shape.
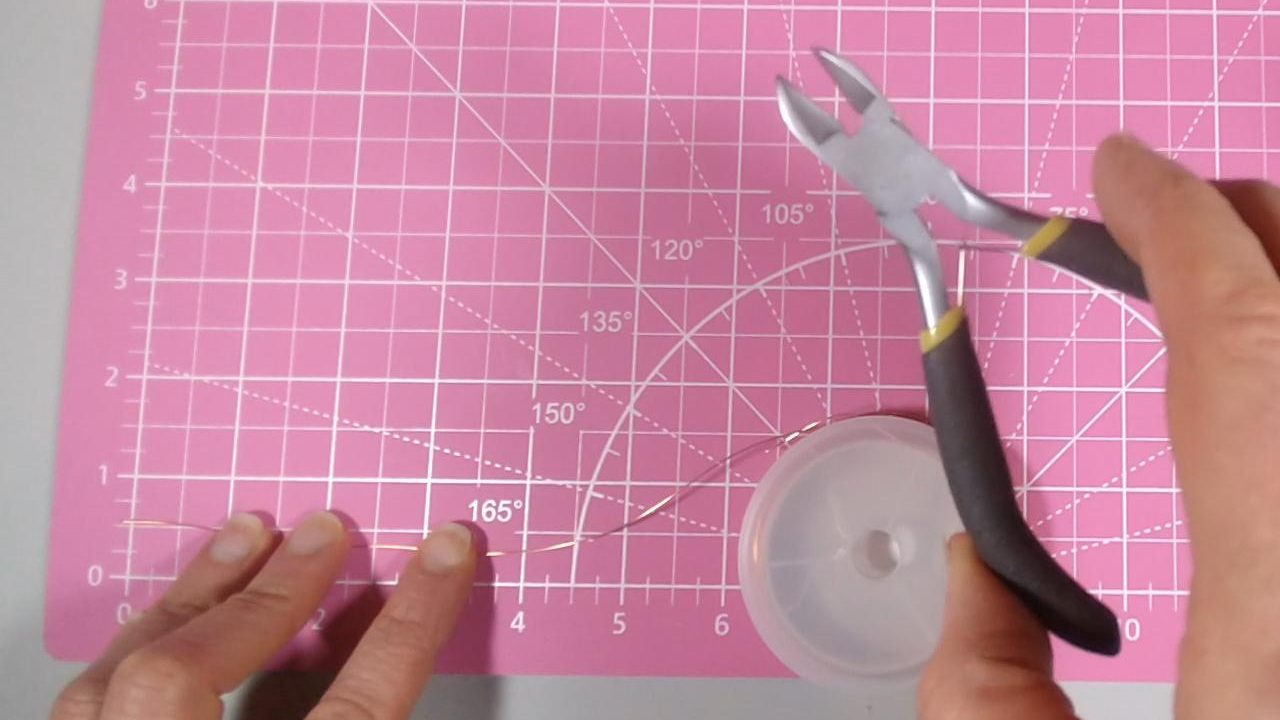
I then threaded the two ends of the wire through the two holes drilled in the umbrella pole, keeping the top ring of the canopy frame in the center.

I twisted the two ends of the wire together on the other side and cut off the excess.

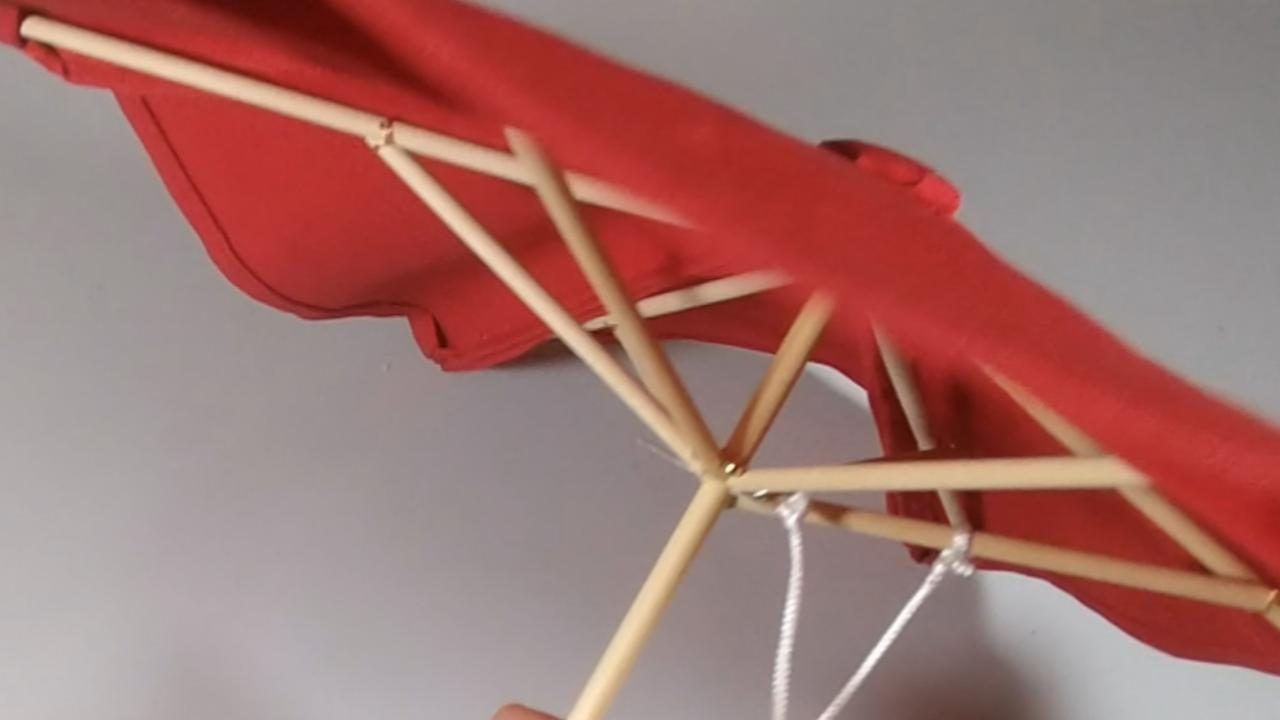
At this point, my frame was largely complete. It was time for some finishing touches with the umbrella canopy included. I attached the frame to the umbrella canopy.


I adjusted the frame to the point I wanted the canopy stretched. I marked this location with a dot and drilled a hole there.
Next, I took a paperclip, and trimmed and shaped it to form a pin with a loop.

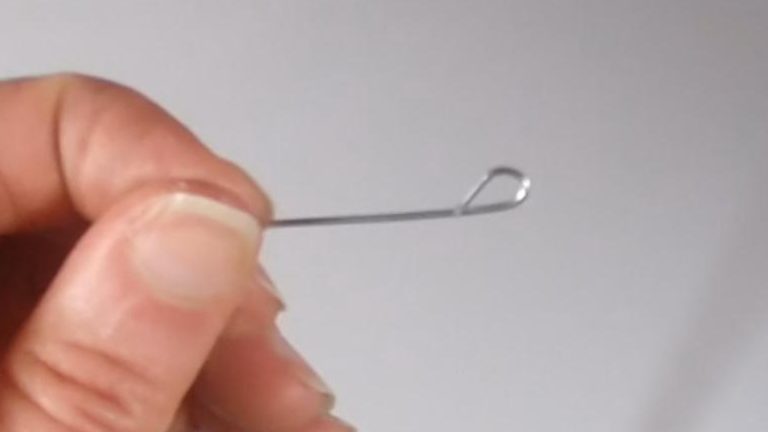
I inserted the pin in the hole I had just drilled. This pin would hold up the umbrella canopy.
Next, I cut an ~8″ length of string. I tied one end to the canopy frame, and the other end to the pin loop. I trimmed the ends and added a dab of glue to secure the knots.


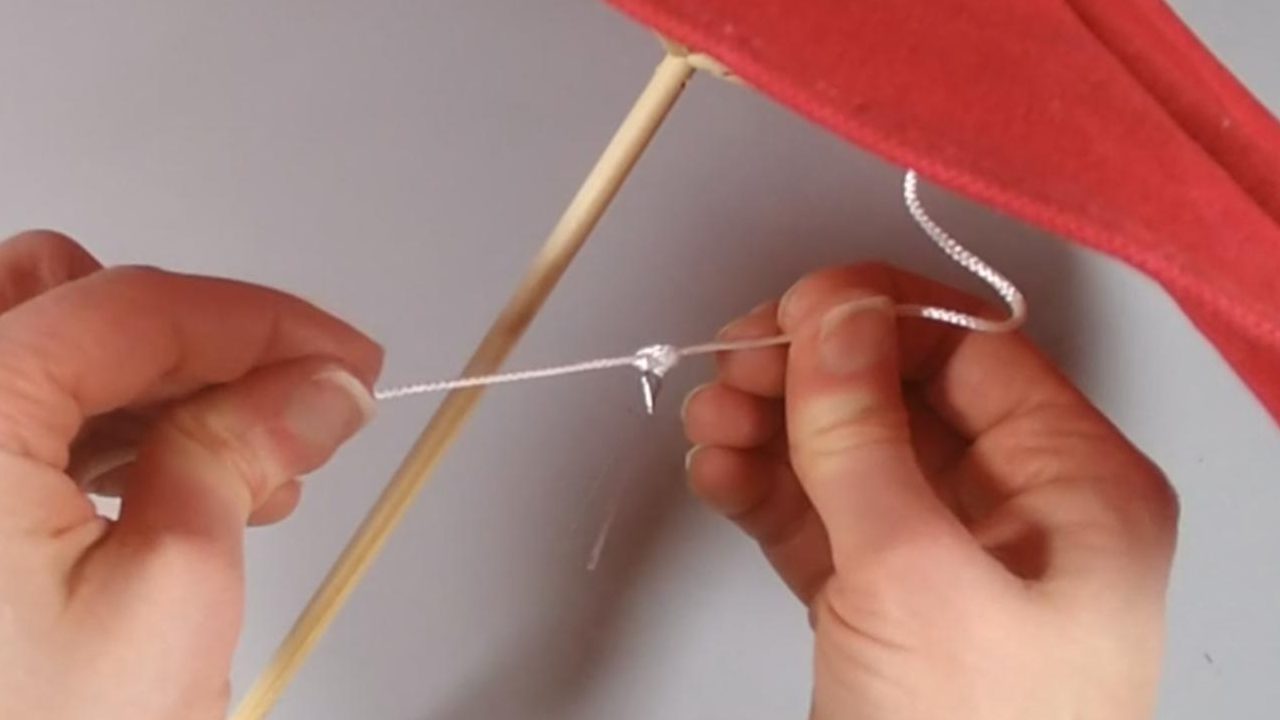
With that, my beach umbrella frame was complete!
This was a challenging but rewarding craft. Stay tuned for a post on the umbrella canopy itself.
Thanks for visiting, and happy crafting!

![DIY Mini Egg Chair Swing Stand [6:1 Fashion Doll Scale]](https://makeitmyowncrafts.com/wp-content/uploads/2025/05/snapshot-6.jpg?w=1024)
![DIY Mini Egg Chair Cushion [6:1 Fashion Doll Scale]](https://makeitmyowncrafts.com/wp-content/uploads/2025/05/snapshot-5.jpg?w=1024)
![DIY Mini Egg Chair Swing [6:1 Fashion Doll Scale]](https://makeitmyowncrafts.com/wp-content/uploads/2025/05/img_20250525_114014199.jpg?w=1024)
![DIY Mini Garden Bench [6:1 Fashion Doll Scale]](https://makeitmyowncrafts.com/wp-content/uploads/2025/05/img_20250519_191541270.jpg?w=1024)
![DIY Mini School Window [6:1 Fashion Doll Scale]](https://makeitmyowncrafts.com/wp-content/uploads/2025/05/img_20250520_115912364.jpg?w=1024)
![DIY Mini Split-Rail Fence [6:1 Fashion Doll Scale]](https://makeitmyowncrafts.com/wp-content/uploads/2025/05/img_20250518_105522853.jpg?w=1024)

Leave a comment