I felt my dolls needed some companions in the garden. This is what came up.
Note the article below contains affiliate links. It helps me out if you use them, no worries in any case.
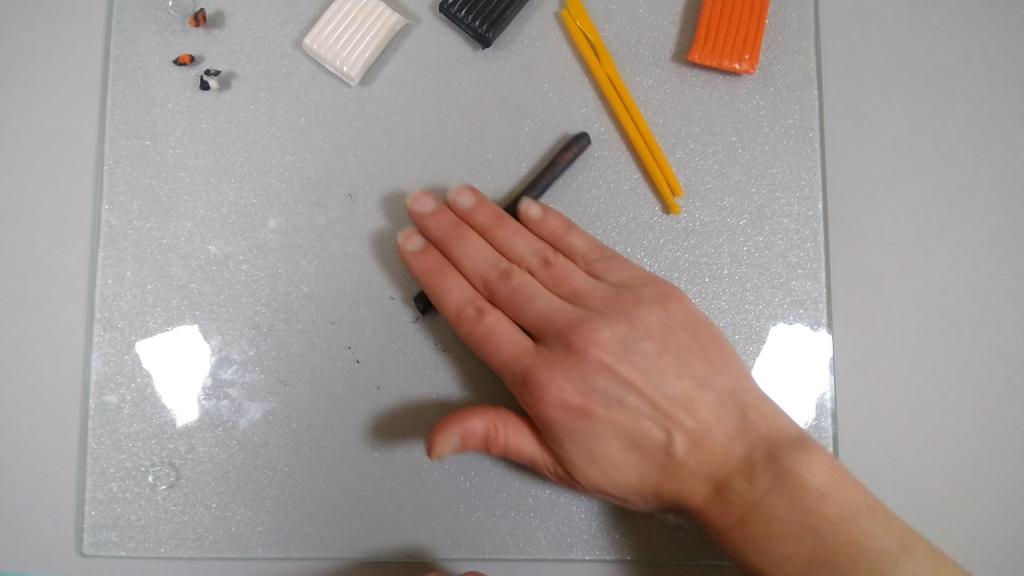
Supplies:
- Polymer Oven-Bake Clay: It was helpful to have a kit with a few extra tools, like a knife a rolling pin.
- Glass Cutting Board: This was a smooth, clean surface to work on.
- Beading Wire, 24 gauge: Thin wire works best here to match the miniature look.
My Process:
I started with three colors of clay: two (orange and white) that would be the main colors for the wings, and the other one (black) that would be the filler for the body.

I cut a piece of orange clay and rolled that into a log. I then cut a piece of black clay and flattened that into a thin sheet.
I covered the orange log with the black thin sheet. I needed to repeat the process to completely cover the orange log in a thin layer of black clay.
Next, I followed a similar procedure with a piece of white clay, slightly smaller than the orange. I rolled this piece into a log and then covered it with a sheet of black clay.


Then, I cut off and discarded the rough ends of the log so I would have a uniform profile of color throughout.


Then, I rolled the orange log out into a section about 8″ long. I cut the log into four equal segments about 2″ each.
I then stacked the logs together to form a larger log. I set this aside and followed similar process with the white log, this one rolling out about 6″ and cutting into three segments of 2″. I arranged these white logs along one side of my larger orange log.

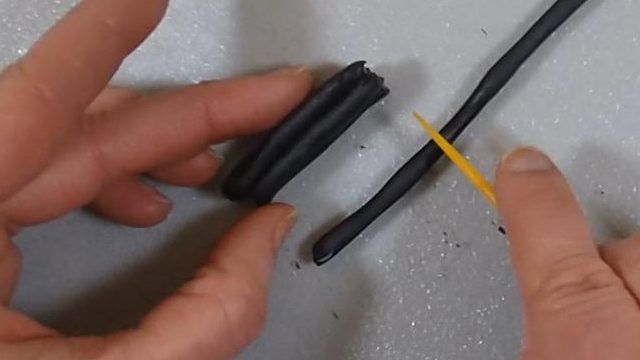

Now I rolled out this large log until it was about 5 cm in diameter. I wrapped this log in plastic wrap and put it in the freezer for about 15 minutes before cutting into slices with the craft knife.

After freezing the log, I cut the non-uniform piece off the end to discard, then cut four thin slices to make my butterfly wings.
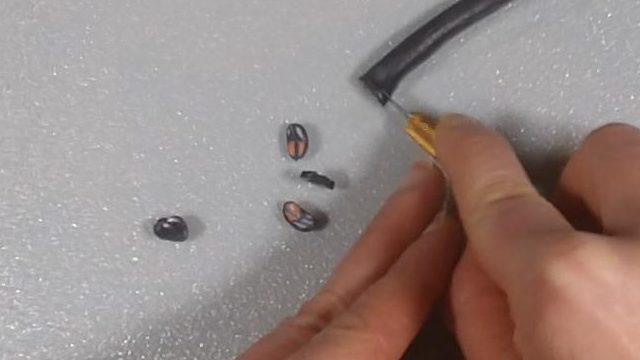
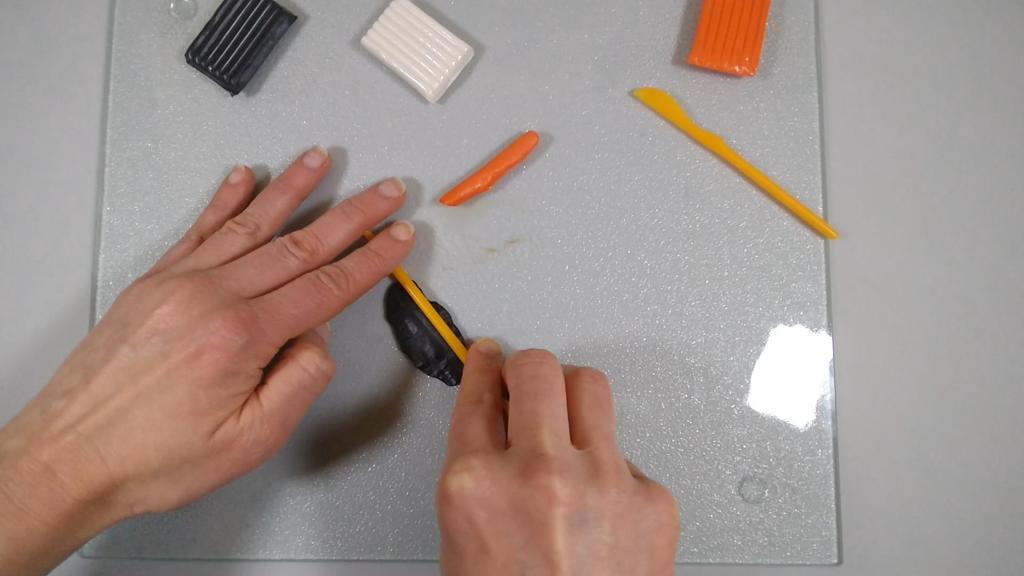
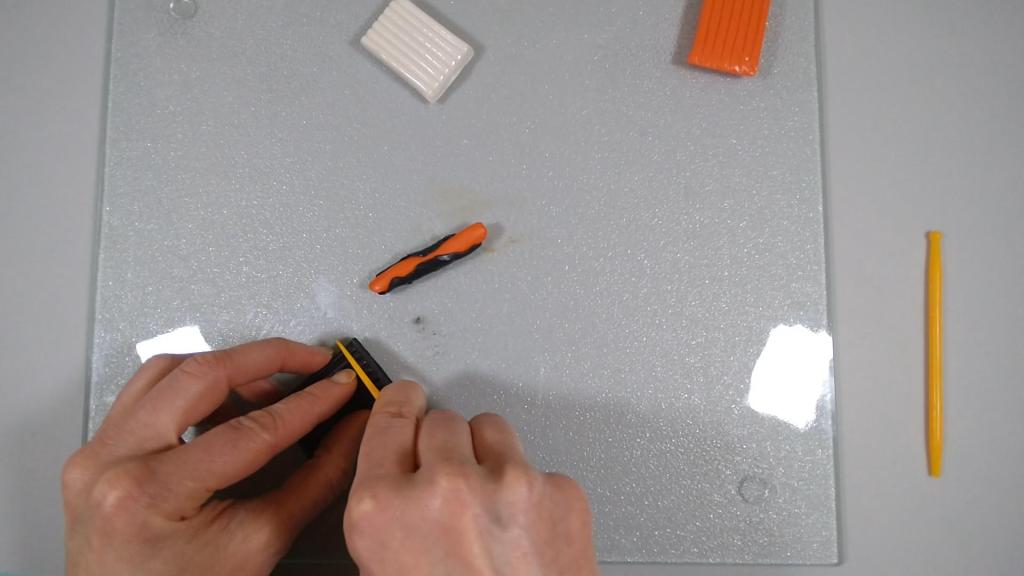
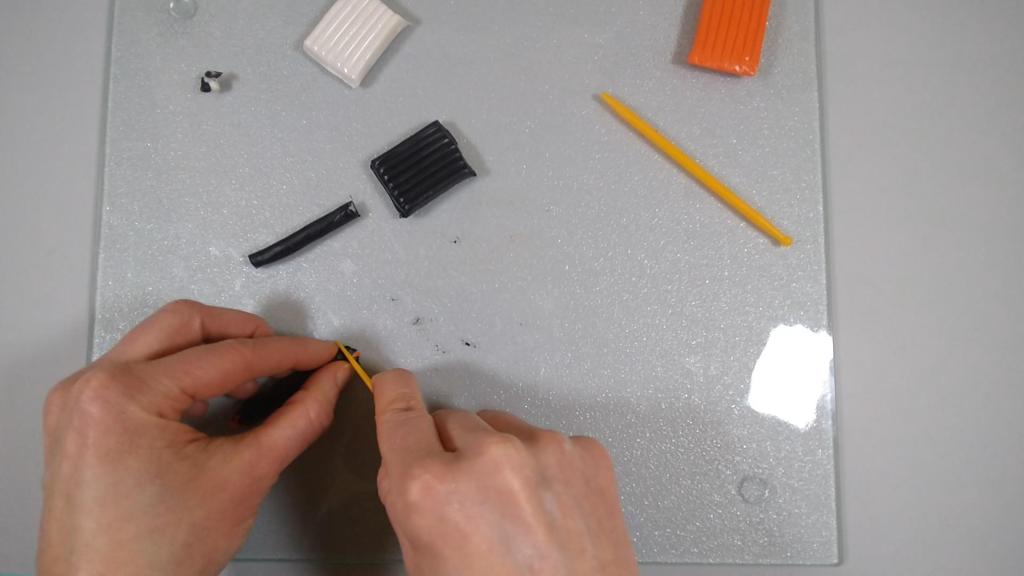
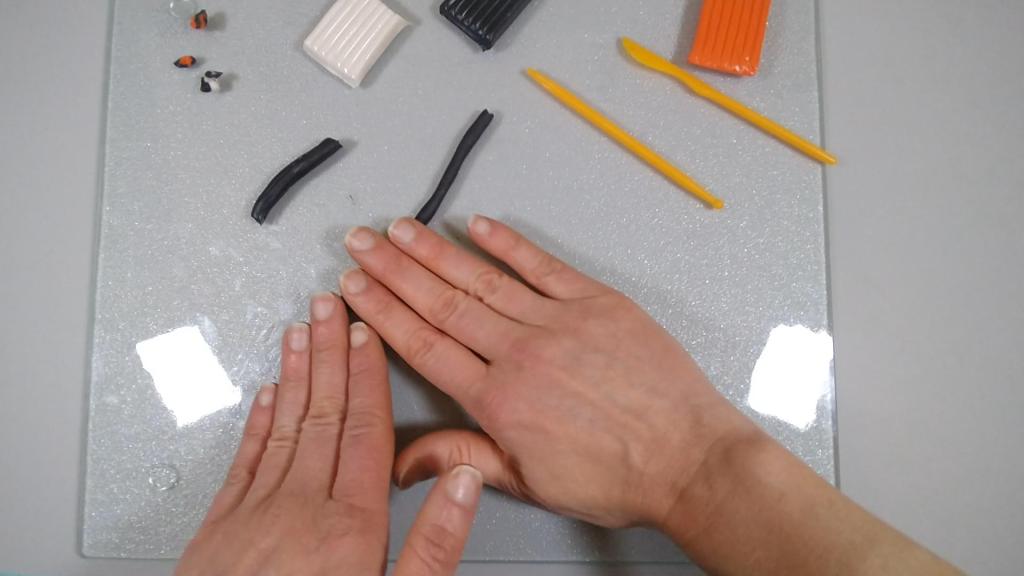
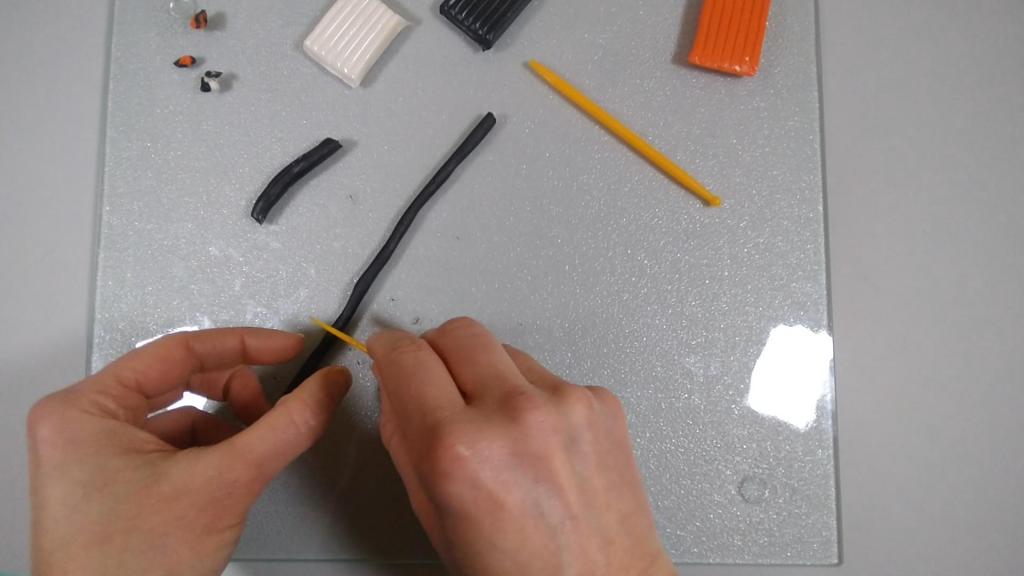
Next, I cut a piece of beading wire, about 6″ long. I rolled a small piece of black clay into a log and formed this around the end of the wire. This would form the body of the butterfly.
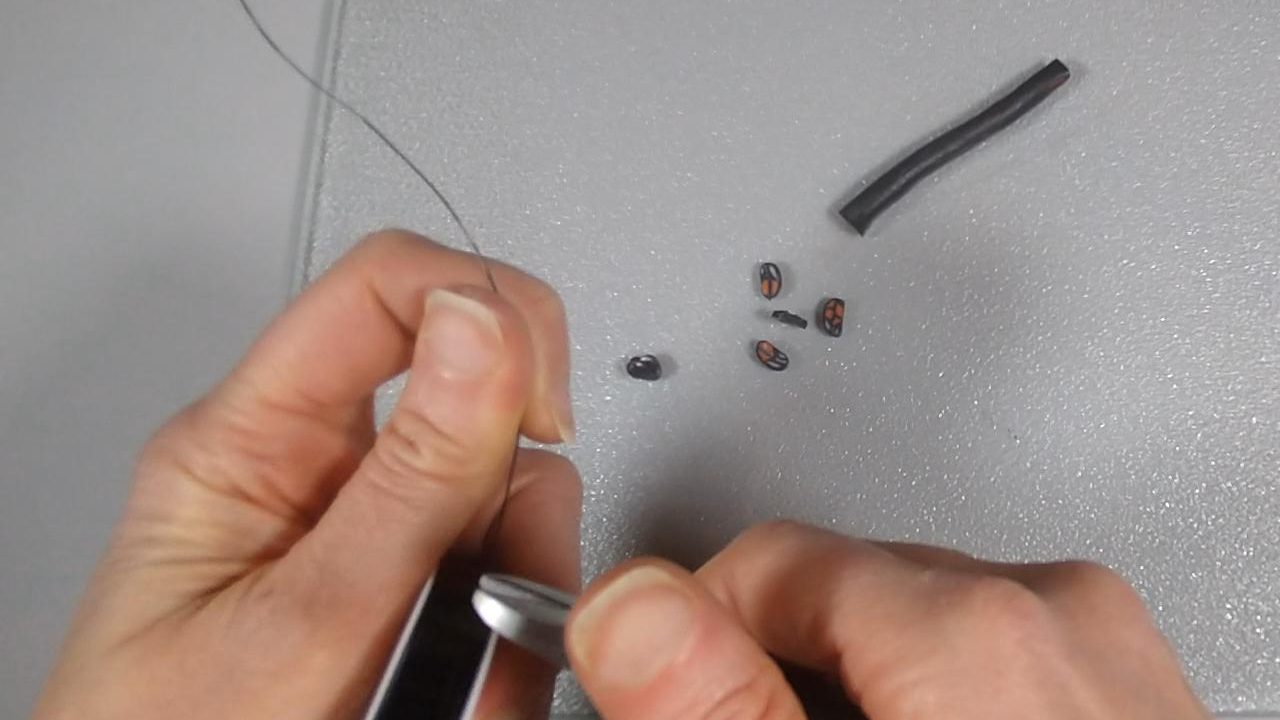

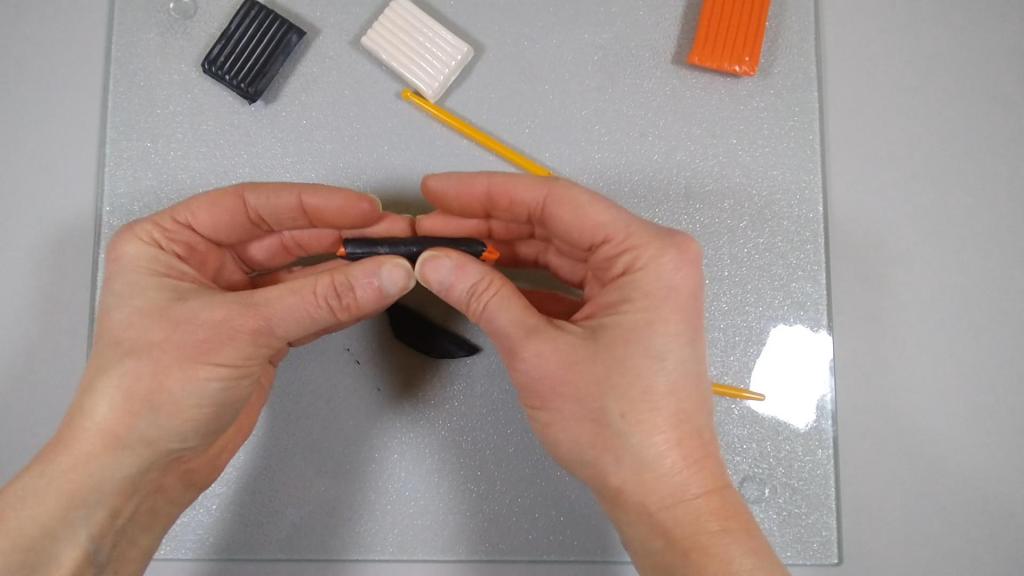
Now, I started to attach the wings to the body. I oriented them with the white clay facing up and out. As I attached the wings, I shaped them with points on the end.
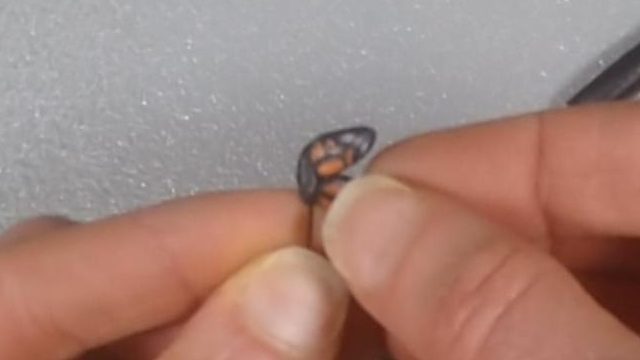


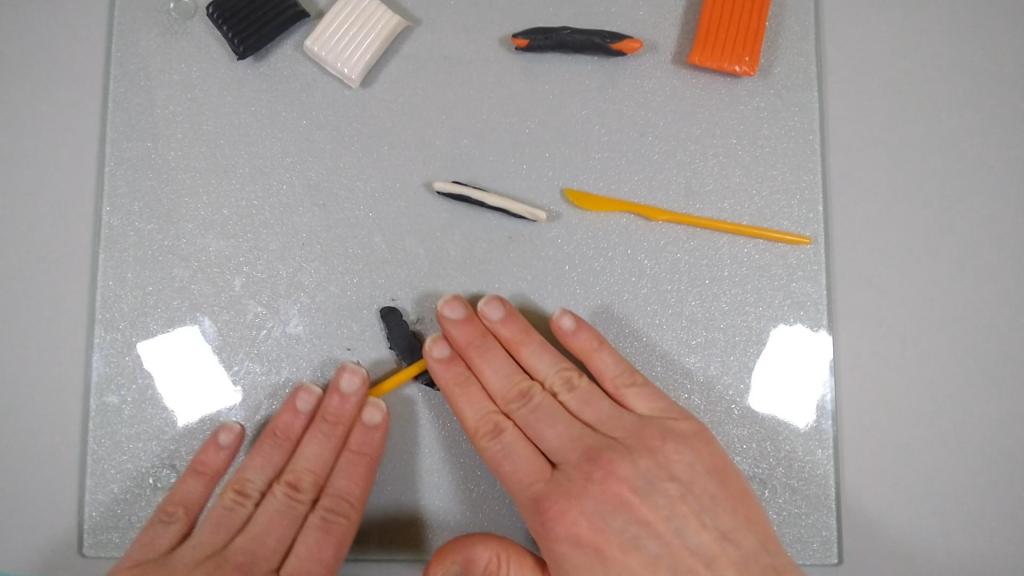
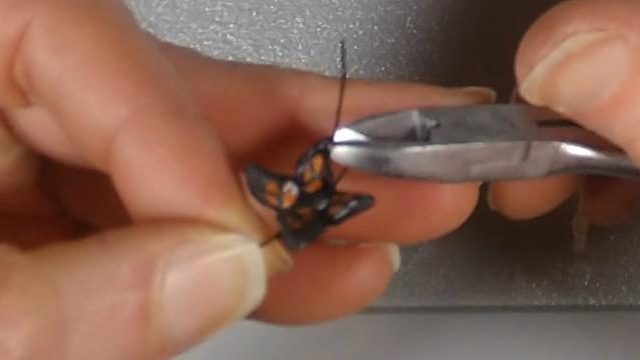
Then, I cut a piece of craft wire about 2″ long, then cut that in half. I inserted these into the front end of the butterfly body as antenna. Once they were in place, I trimmed them to about 1 cm.

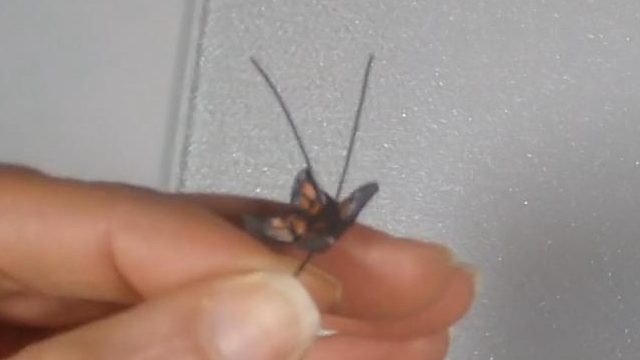
Finally, I placed my butterfly on a foil-lined baking sheet and baked it per the clay manufacturer’s instructions. After baking and cooling, my butterfly was complete!

I ended up creating a small handful of these in using up the clay, and have been enjoying the addition to my miniature garden. I hope to add more miniature garden DIY soon. Stay tuned!
Thanks for visiting, and happy crafting!

![DIY Mini Egg Chair Swing Stand [6:1 Fashion Doll Scale]](https://makeitmyowncrafts.com/wp-content/uploads/2025/05/snapshot-6.jpg?w=1024)
![DIY Mini Egg Chair Cushion [6:1 Fashion Doll Scale]](https://makeitmyowncrafts.com/wp-content/uploads/2025/05/snapshot-5.jpg?w=1024)
![DIY Mini Egg Chair Swing [6:1 Fashion Doll Scale]](https://makeitmyowncrafts.com/wp-content/uploads/2025/05/img_20250525_114014199.jpg?w=1024)
![DIY Mini Garden Bench [6:1 Fashion Doll Scale]](https://makeitmyowncrafts.com/wp-content/uploads/2025/05/img_20250519_191541270.jpg?w=1024)
![DIY Mini School Window [6:1 Fashion Doll Scale]](https://makeitmyowncrafts.com/wp-content/uploads/2025/05/img_20250520_115912364.jpg?w=1024)
![DIY Mini Split-Rail Fence [6:1 Fashion Doll Scale]](https://makeitmyowncrafts.com/wp-content/uploads/2025/05/img_20250518_105522853.jpg?w=1024)

Leave a comment