This backyard classic seemed perfect for miniaturization. Here’s how I went about it.
Note the article below contains affiliate links. It helps me out if you use them, no worries in any case.
Supplies:
- Jumbo Craft Sticks (8″ long): These craft sticks can be hard to find, but they are just the perfect size for this application.
- Regular Craft Sticks (4.5″ long): These hold the structure together.
- Ruler/Cutting Board, Hot Glue Gun, Scissors, Craft Mat, Pencil
My Process:
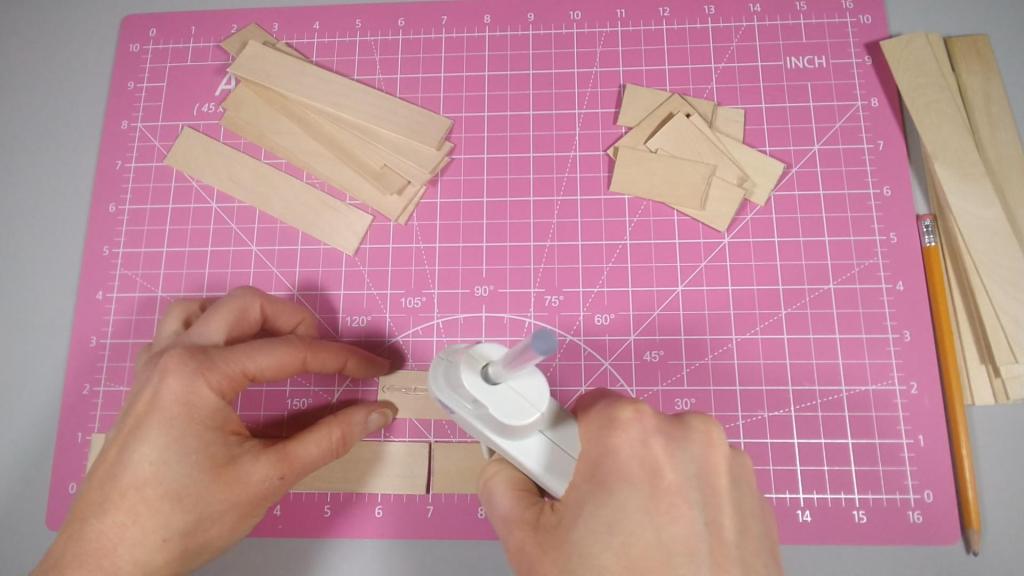
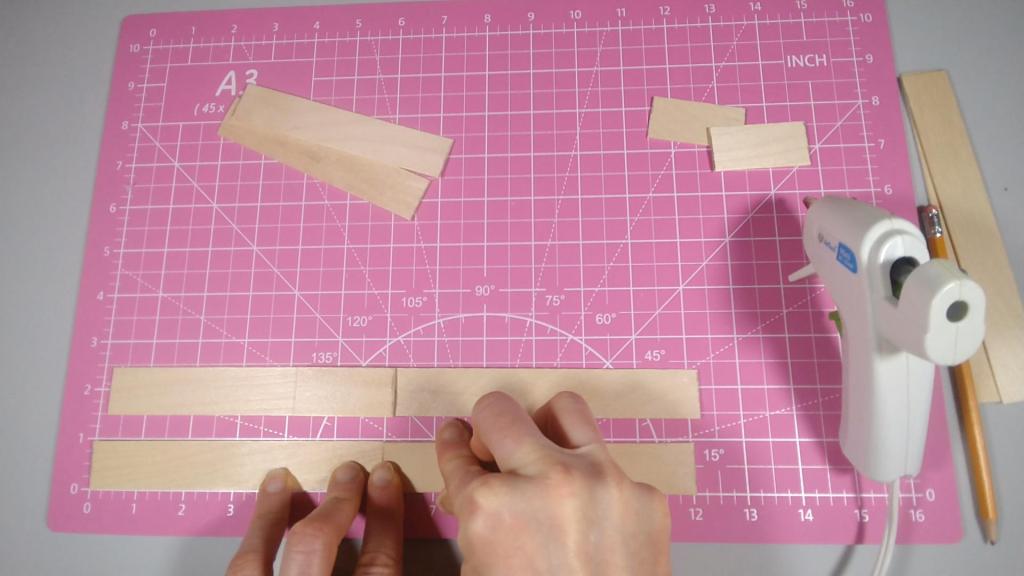
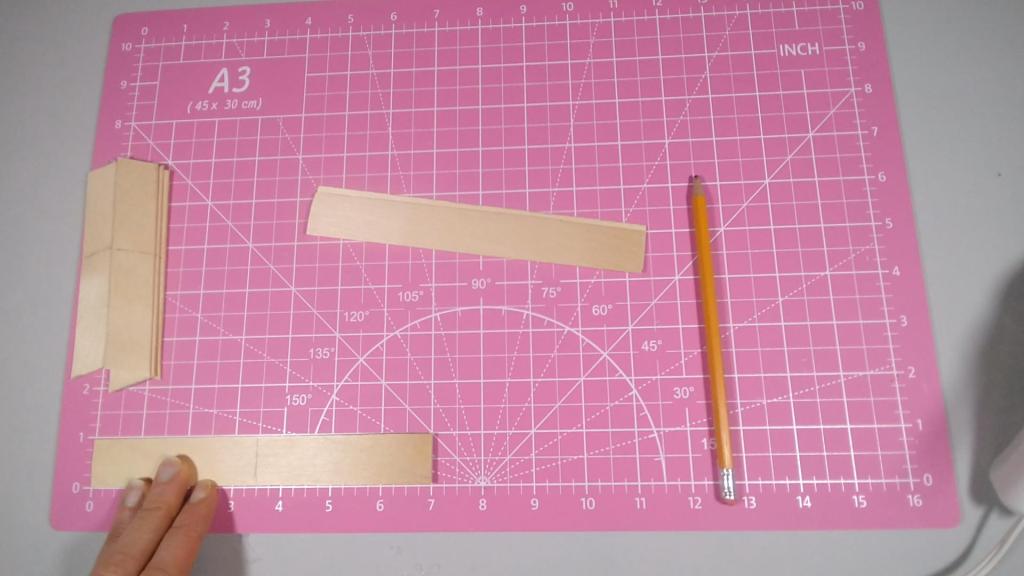
First, I took eighteen of the jumbo craft sticks, measured and cut 0.5″ from the end on each.
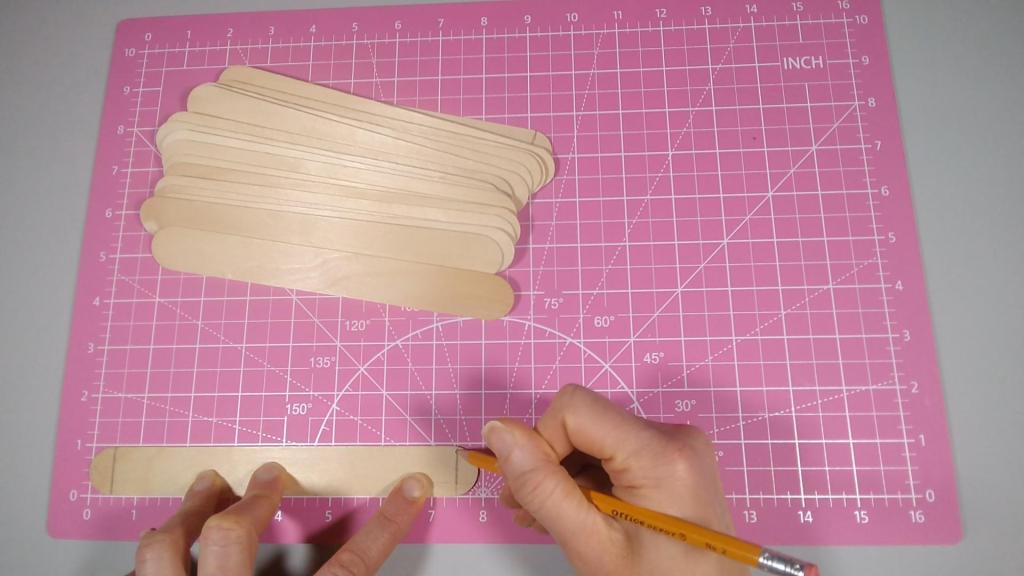
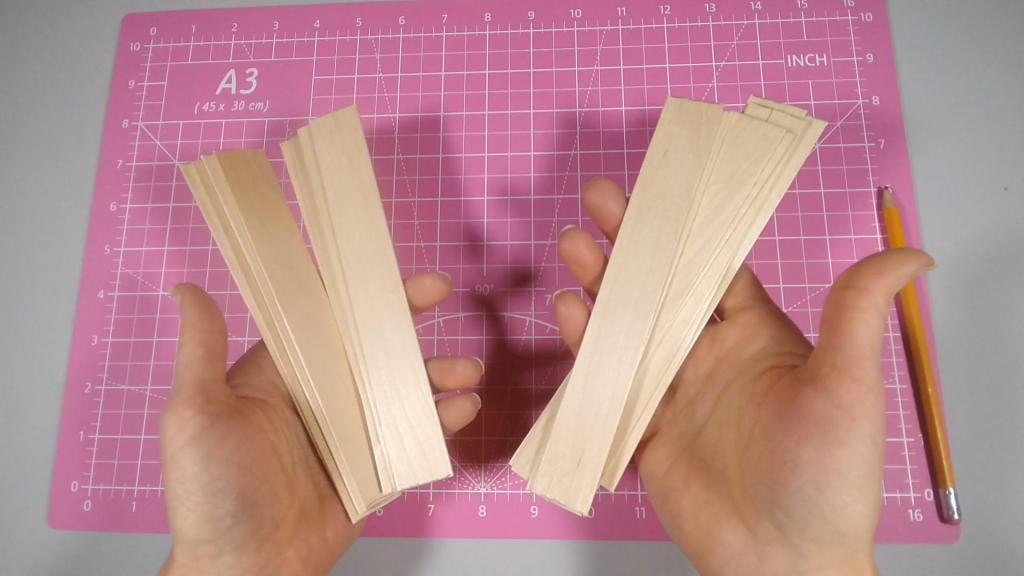
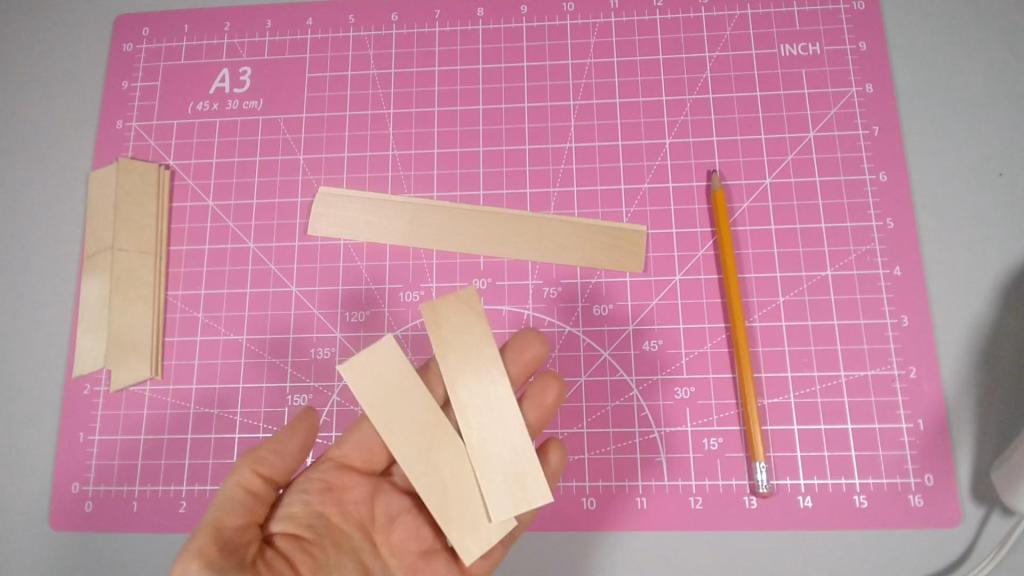
For nine of those eighteen sticks, I marked and cut at the 5″ line.
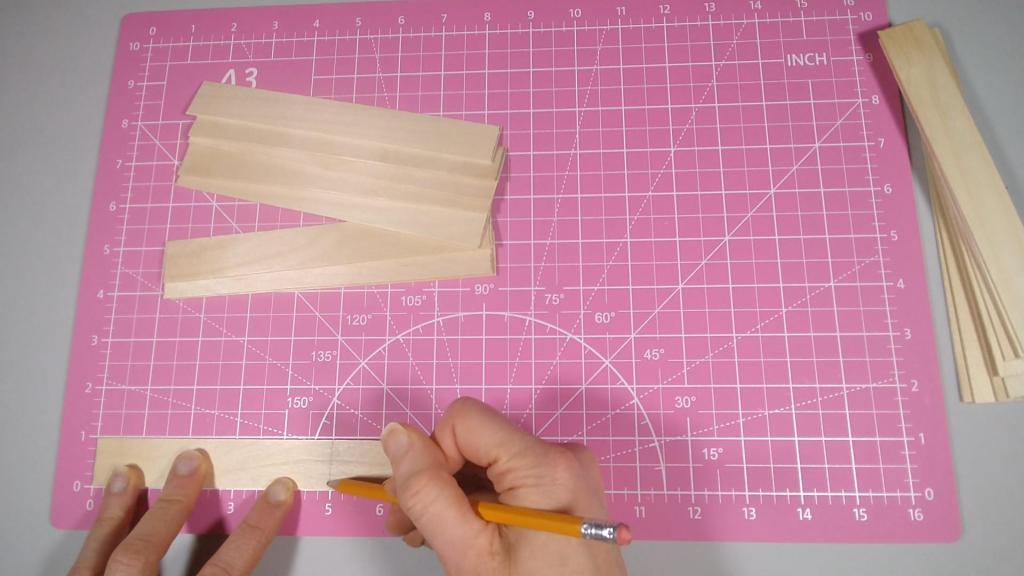
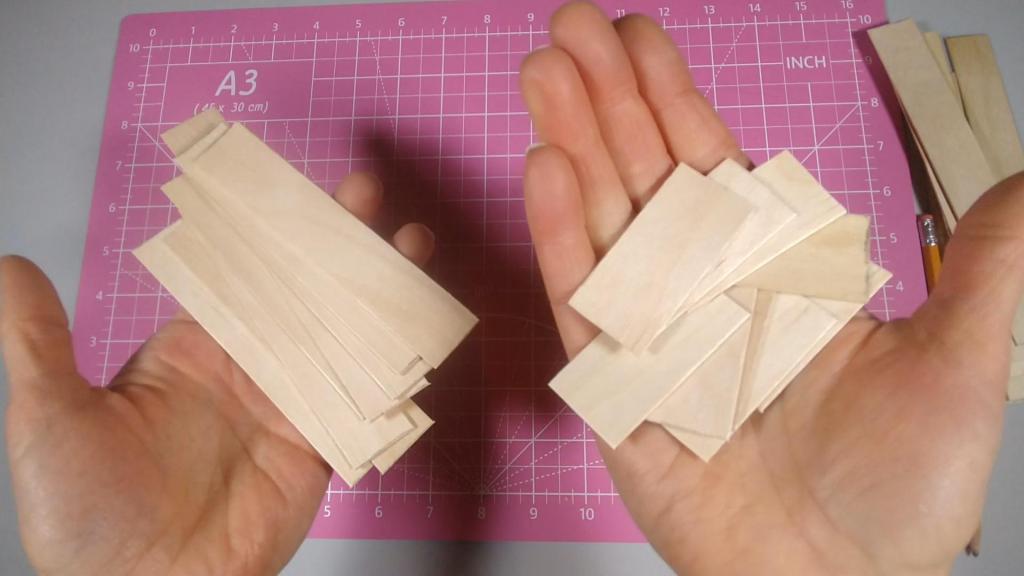
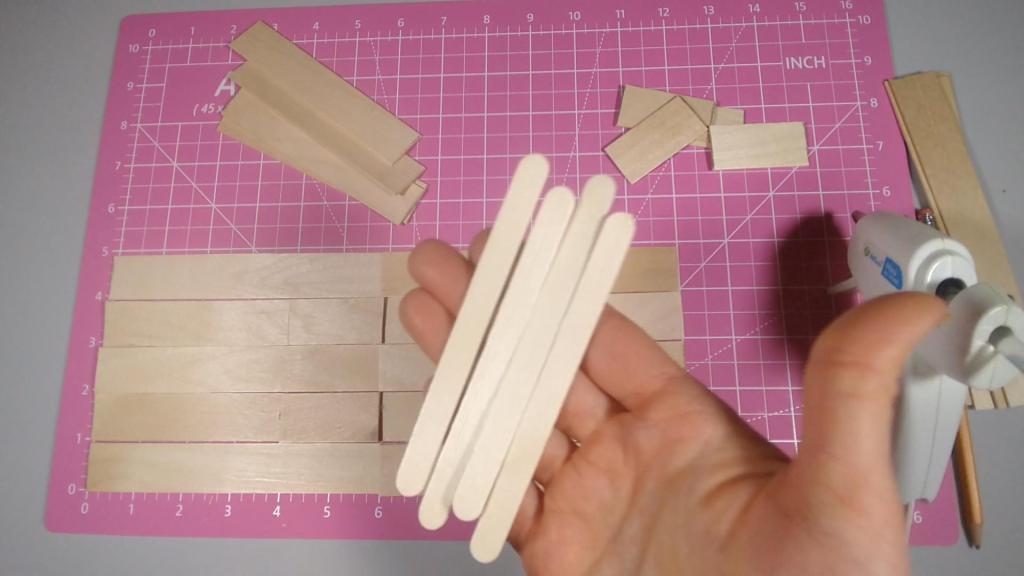
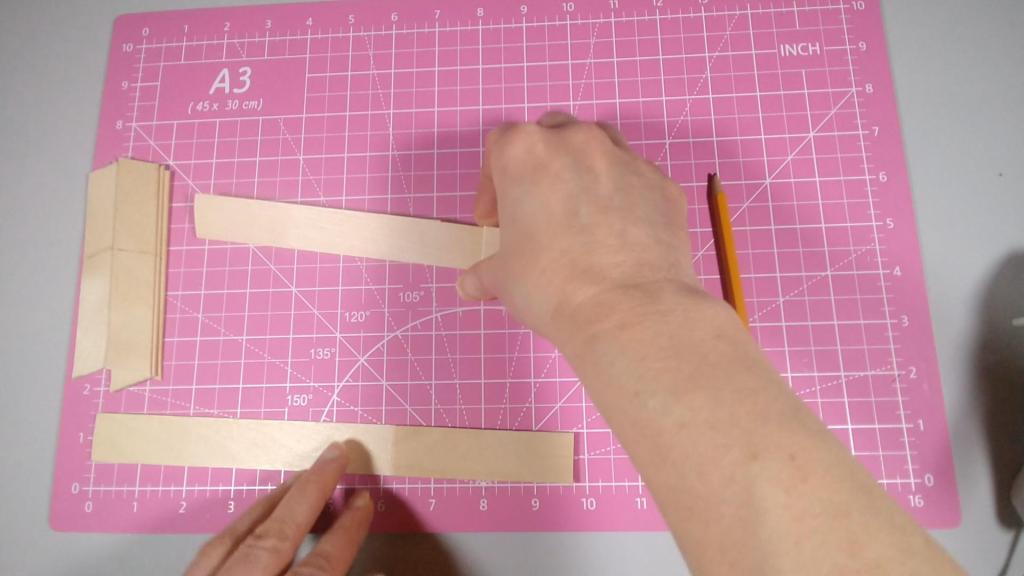
Now, I lined up one of the 7″ pieces with one of the 5″ pieces. I then glued them together using the remaining 2″ piece.

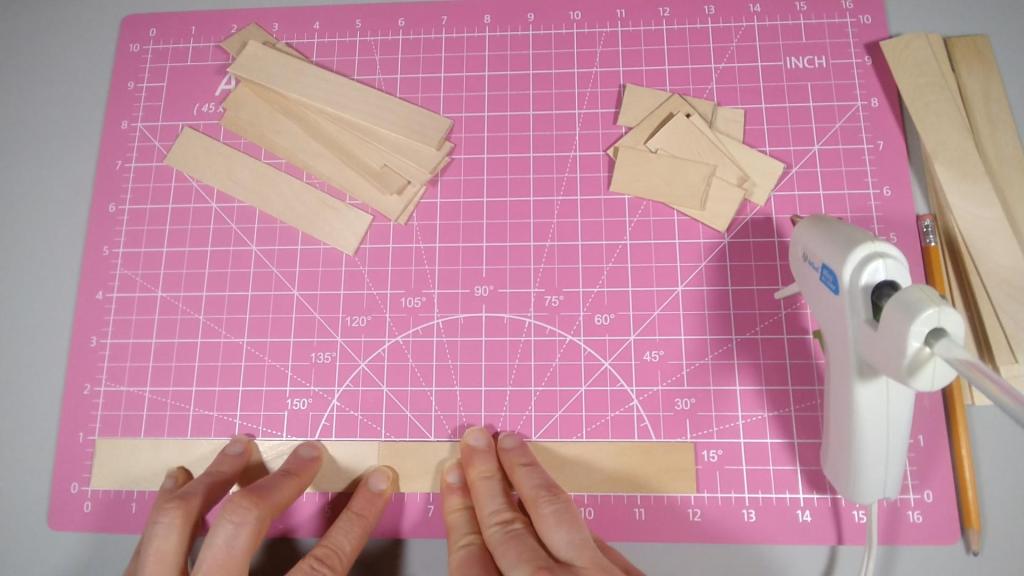
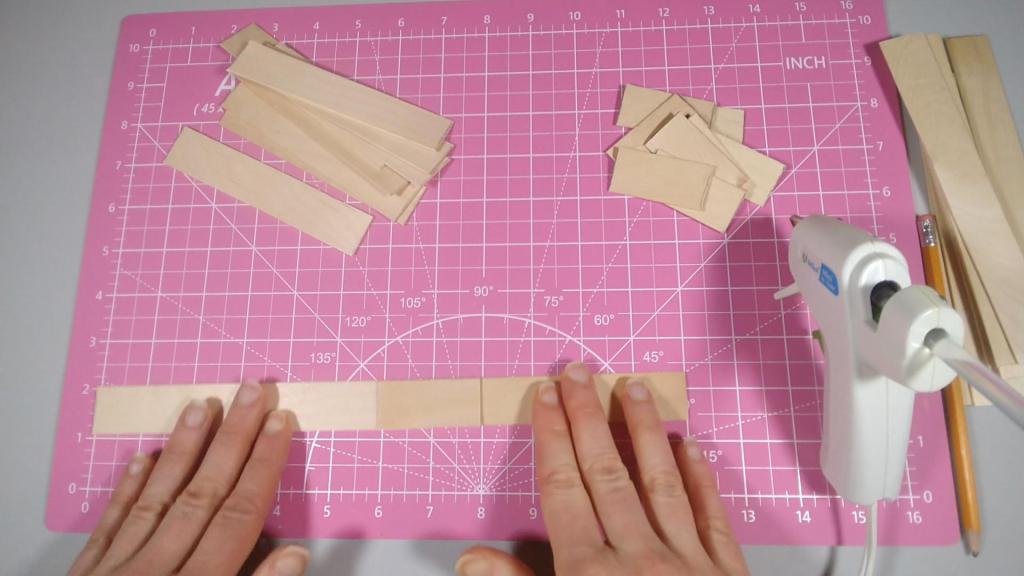
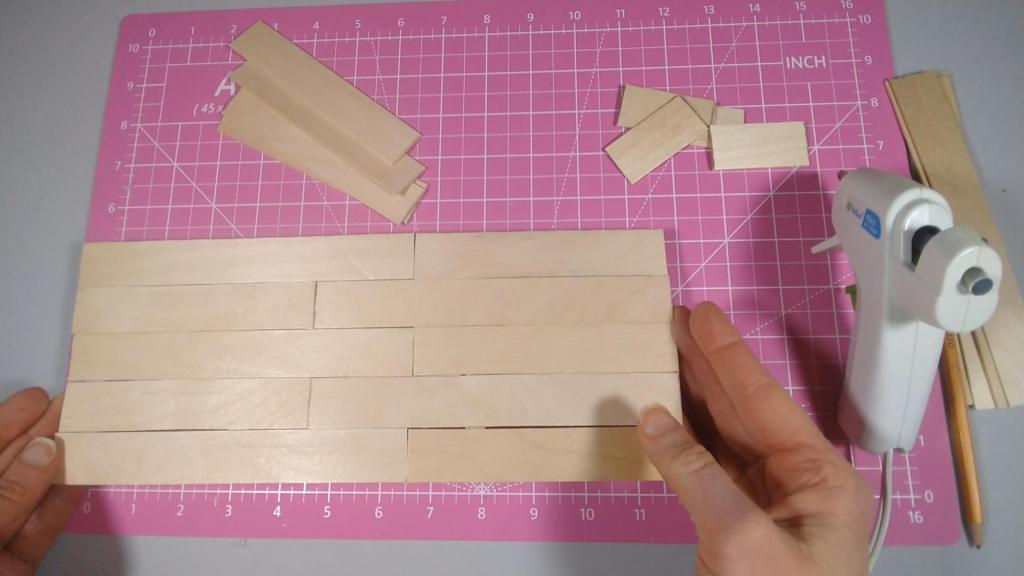
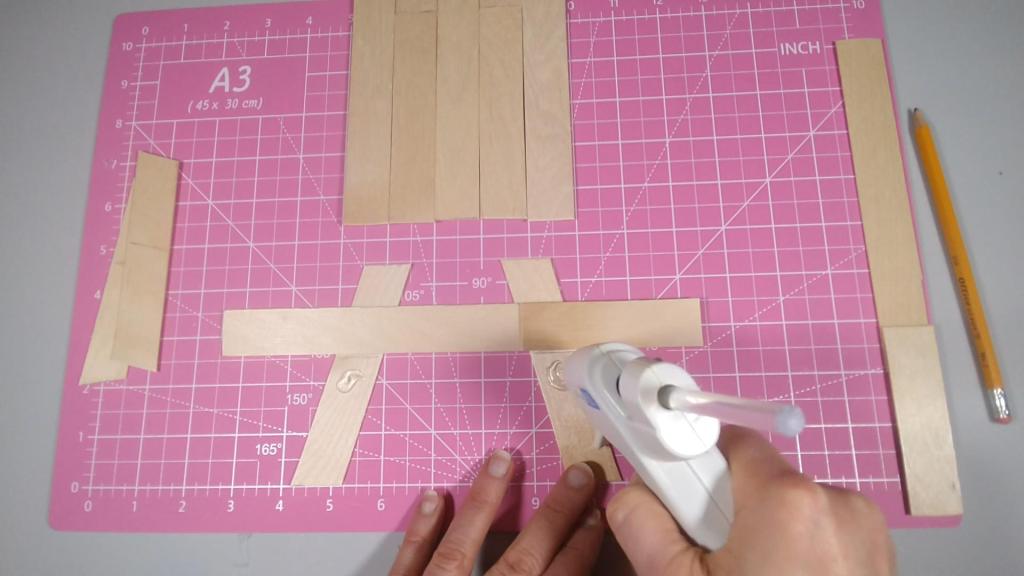
I repeated this process four more times, to create five “boards” that would form the top of my picnic table.
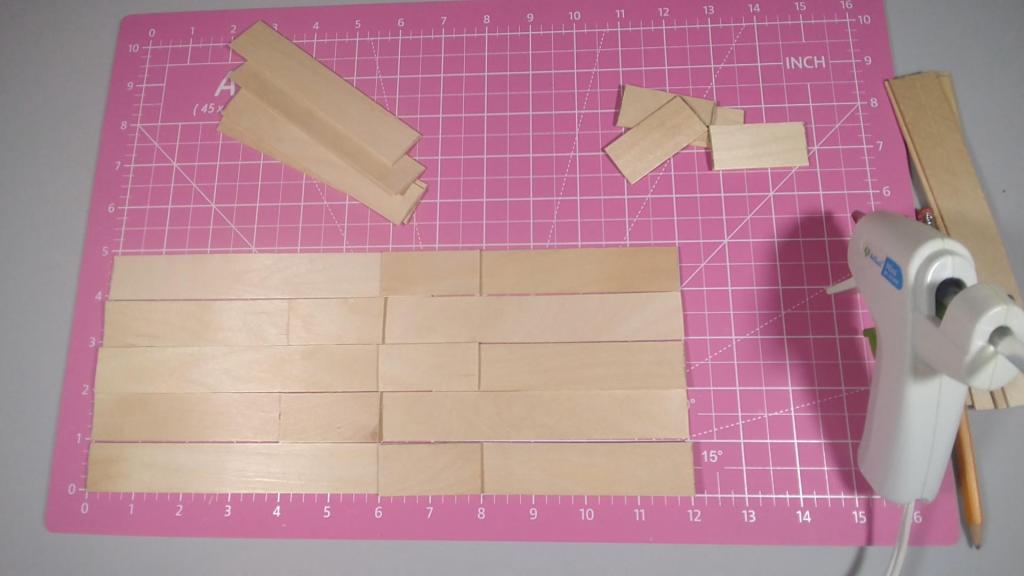
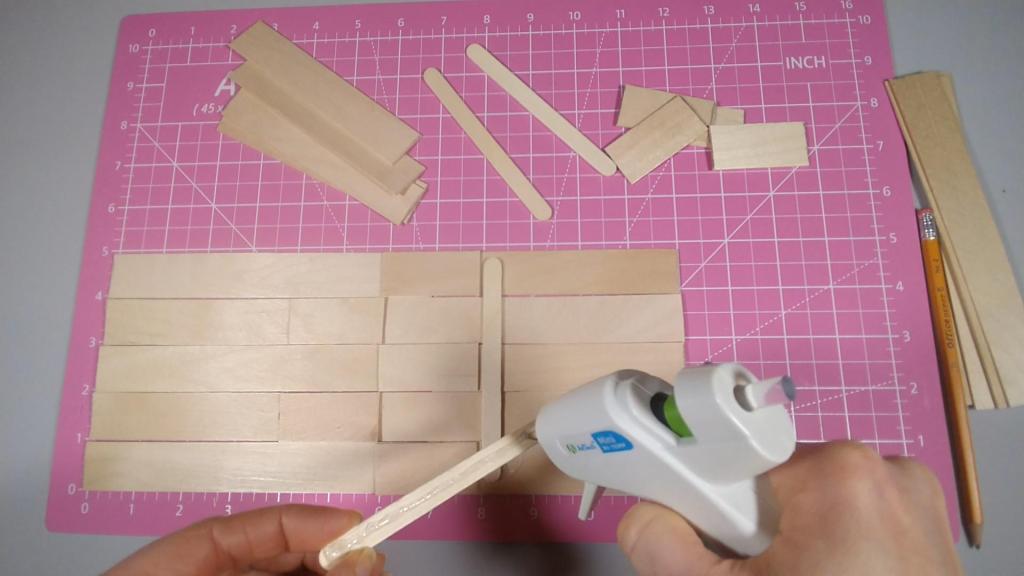
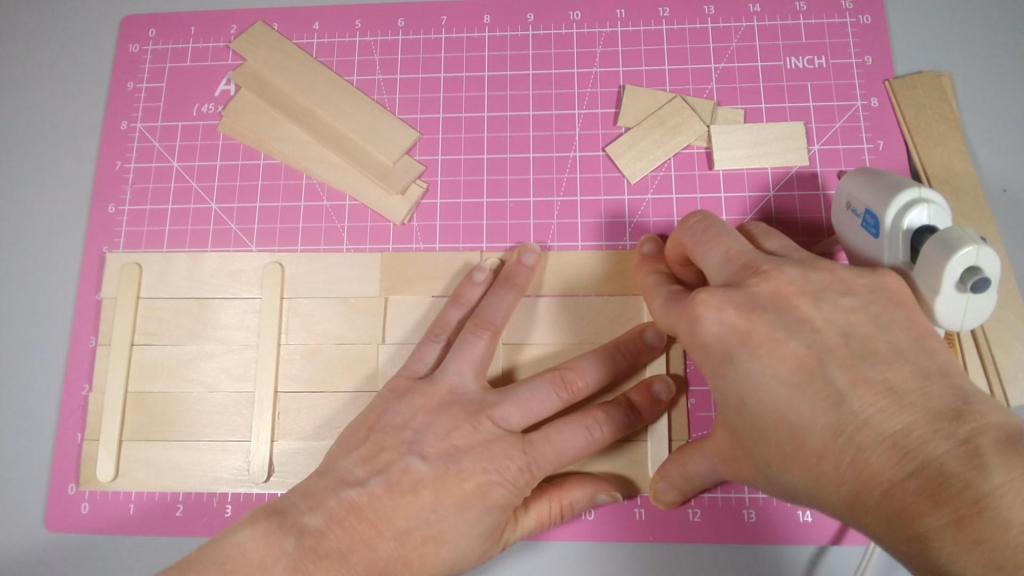
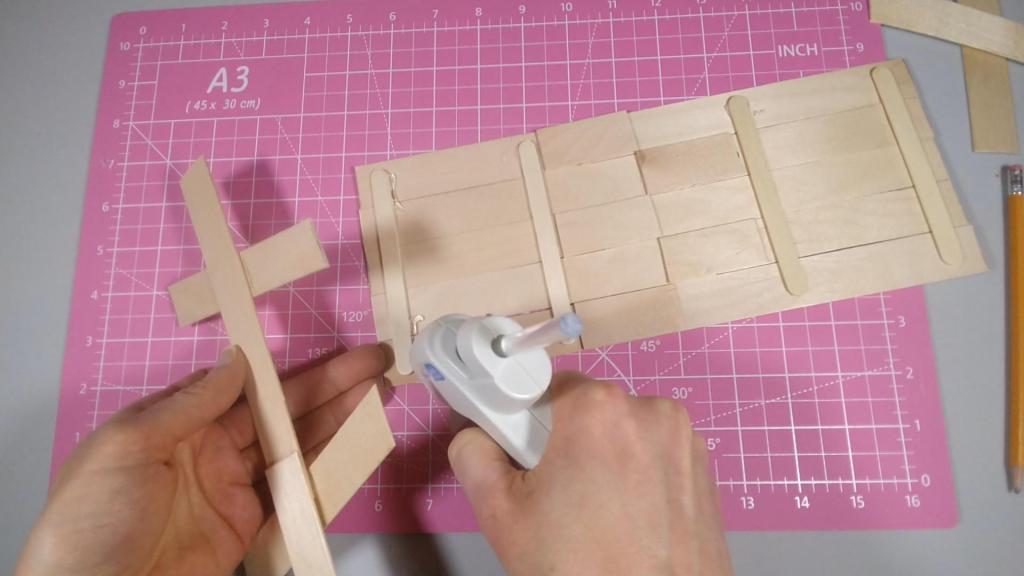
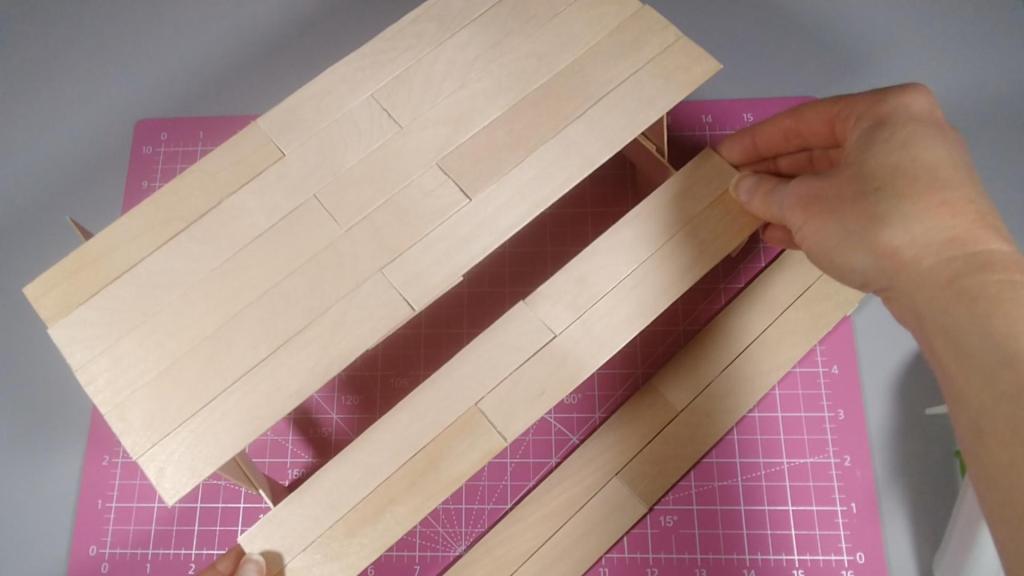
Next, I took four regular craft sticks, and glued them to the “boards” I had just created to form a table top.
Next, I created two more “boards” like the ones I had just glued together. These would form the bench. I glued them together with two regular craft sticks that I cut into 2″ pieces.

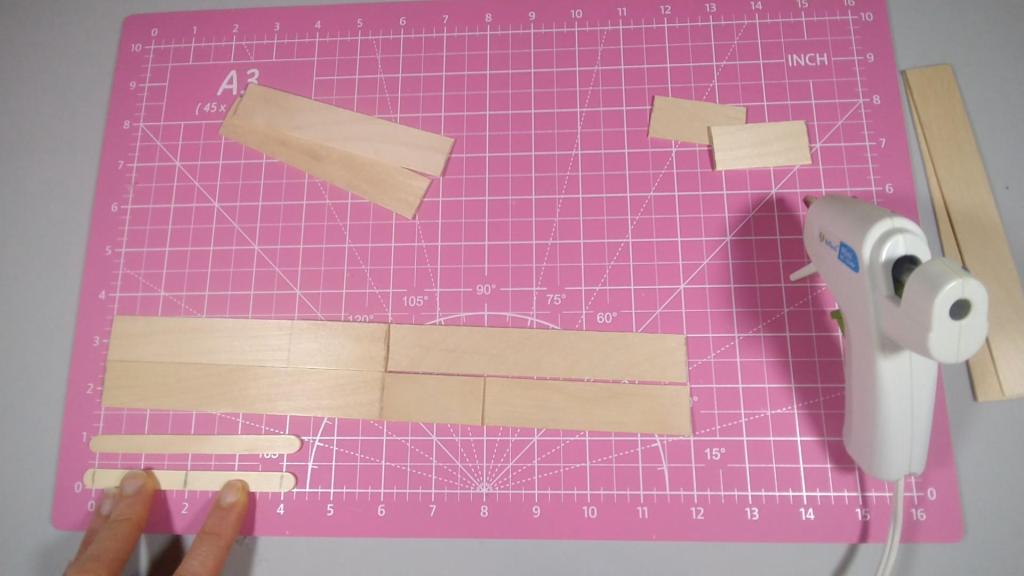
I repeated this process to create two benches, one for each side.

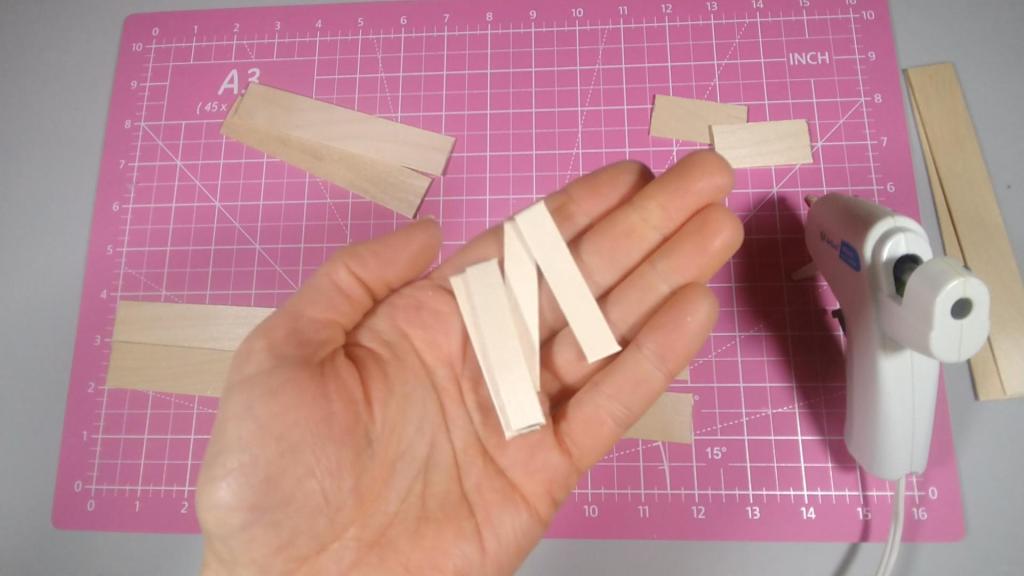
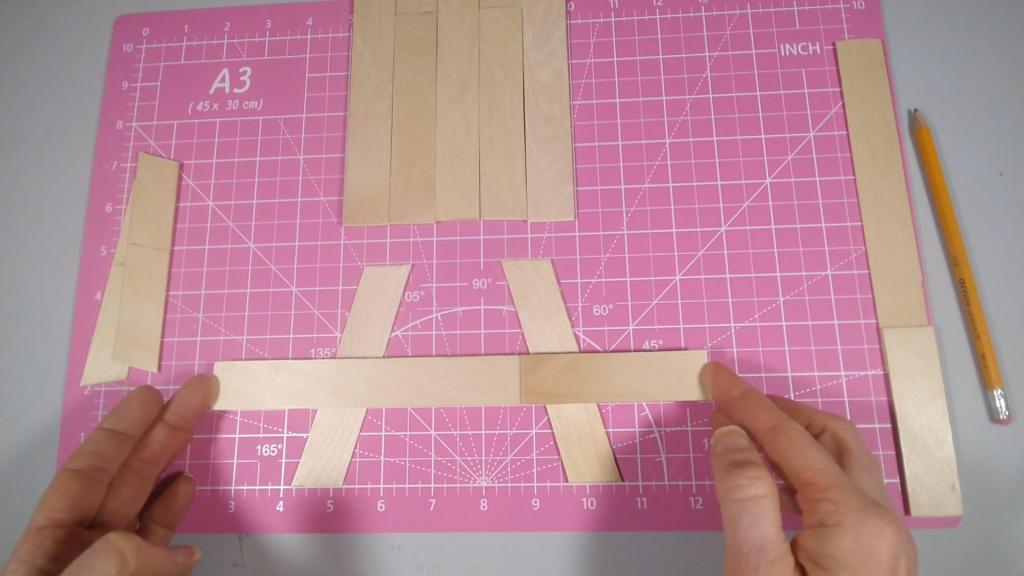
Then, I measured the cut the legs of the table. I used four jumbo craft sticks, aligned at 70 degrees and measuring 4.5″ tall.


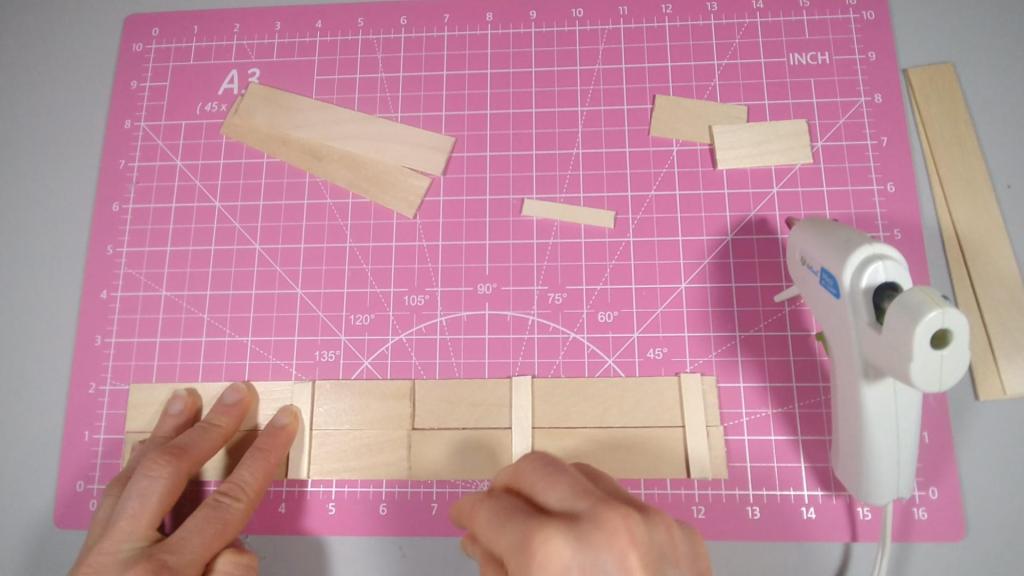
Next, I created the supporting beams that would run under the table and bench. I used three jumbo craft sticks, cut the rounded 0.5″ ends off, and then cut one in half (3.5″). I glued the 3.5″ section to the 7″ section to create a beam 9.75″ in length. I repeated this for the second set of sticks.

Now, I began assembling my table. I attached the legs to the support beams by arranging the legs slightly less than the width of the table, about 2″ apart at the top. I glued the support beam so the top of the beam aligned with the 2.5″ mark, where I wanted the top of the bench to be.
I repeated this to have a set for each side.
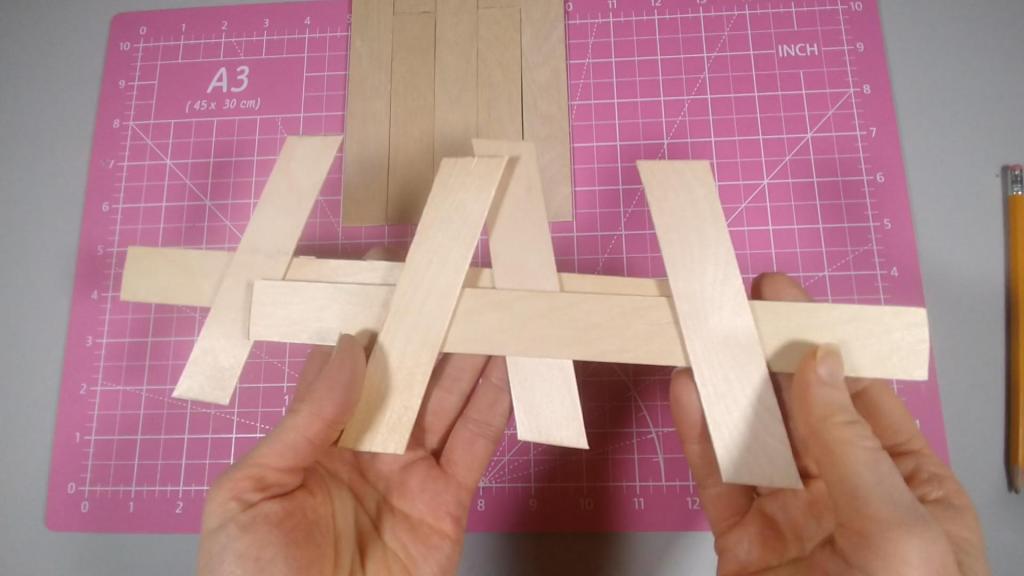
Next, I glued these leg assemblies to the bottom of the table. I used a regular craft stick cut to 3.5″ to form a support beam.


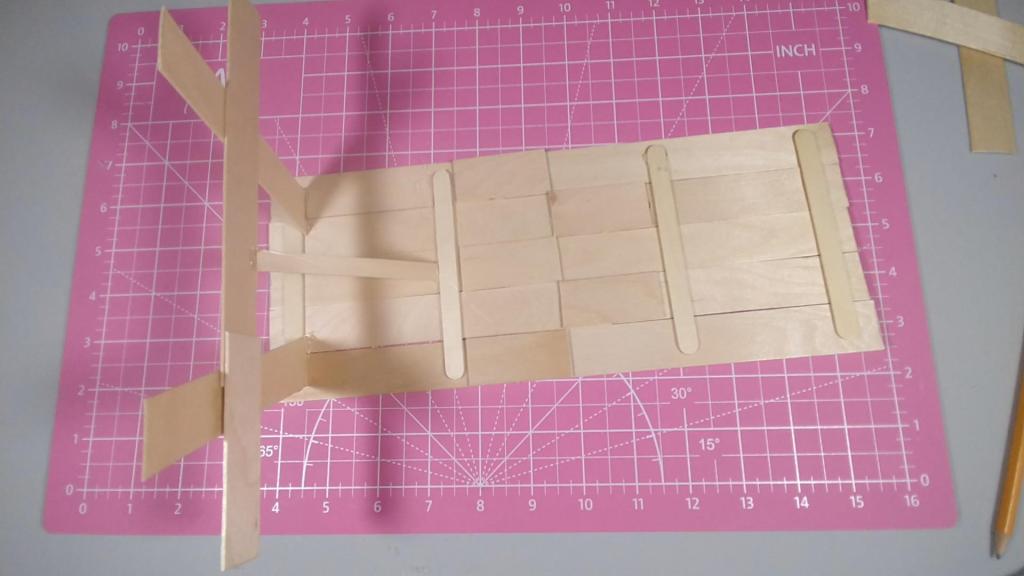

Finally, I attached the benches to the top of the support beams. With that, my picnic table was complete!
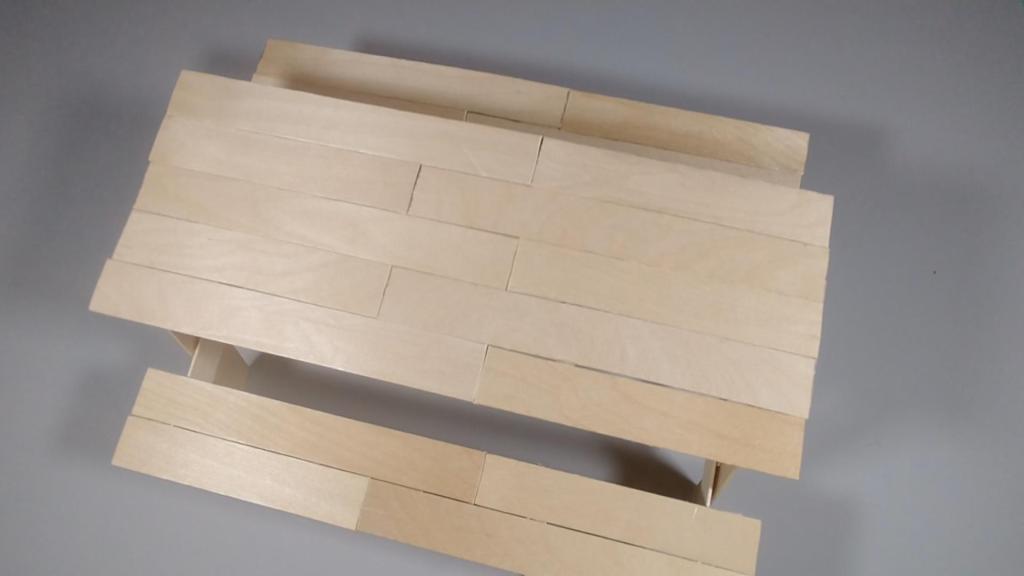
This craft came together really well. I’m excited to use it for some summer-themed settings. Stay tuned!
Thanks for visiting, and happy crafting!

![DIY Mini Egg Chair Swing Stand [6:1 Fashion Doll Scale]](https://makeitmyowncrafts.com/wp-content/uploads/2025/05/snapshot-6.jpg?w=1024)
![DIY Mini Egg Chair Cushion [6:1 Fashion Doll Scale]](https://makeitmyowncrafts.com/wp-content/uploads/2025/05/snapshot-5.jpg?w=1024)
![DIY Mini Egg Chair Swing [6:1 Fashion Doll Scale]](https://makeitmyowncrafts.com/wp-content/uploads/2025/05/img_20250525_114014199.jpg?w=1024)
![DIY Mini Garden Bench [6:1 Fashion Doll Scale]](https://makeitmyowncrafts.com/wp-content/uploads/2025/05/img_20250519_191541270.jpg?w=1024)
![DIY Mini School Window [6:1 Fashion Doll Scale]](https://makeitmyowncrafts.com/wp-content/uploads/2025/05/img_20250520_115912364.jpg?w=1024)
![DIY Mini Split-Rail Fence [6:1 Fashion Doll Scale]](https://makeitmyowncrafts.com/wp-content/uploads/2025/05/img_20250518_105522853.jpg?w=1024)

Leave a comment