With spring in the air, I was reminded of garden arches, wooden trellises, and climbing vines. This craft came up to capture that spirit.
Note the article below contains affiliate links. It helps me out if you use them, no worries in any case.
Supplies:
Bamboo Craft Sticks, 15.7″ long: These form the main frame of the arbor.
Wooden Coffee Stirrers, 7.5″ long: These make up the trellis on the sides.
Cutting Board: This cutting board really came in handy on this project. The lines and angles made the layout and measurements super easy.
Hot Glue Gun, Ruler, Pencil, Craft Mat, Mounting Putty
My Process:
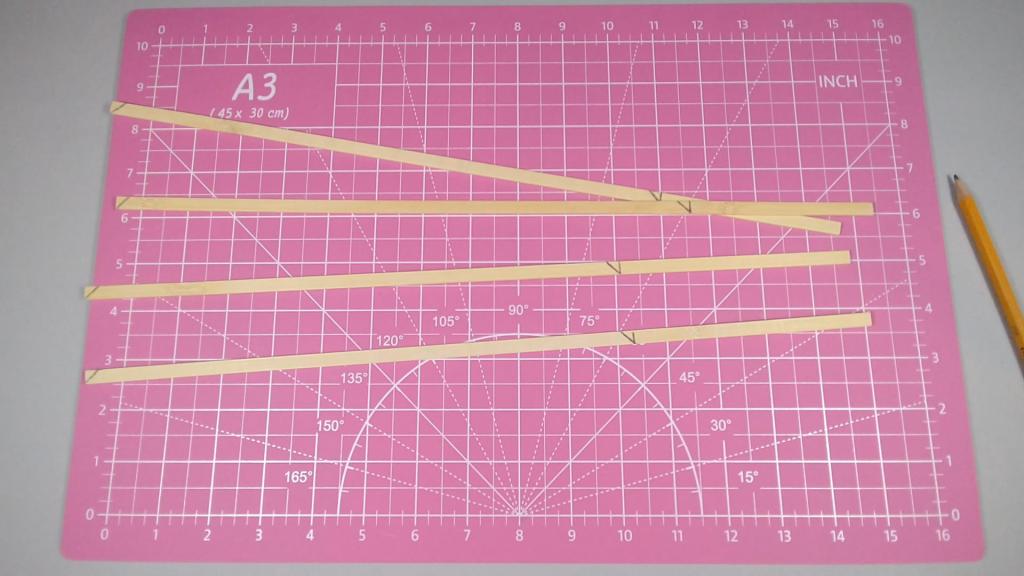
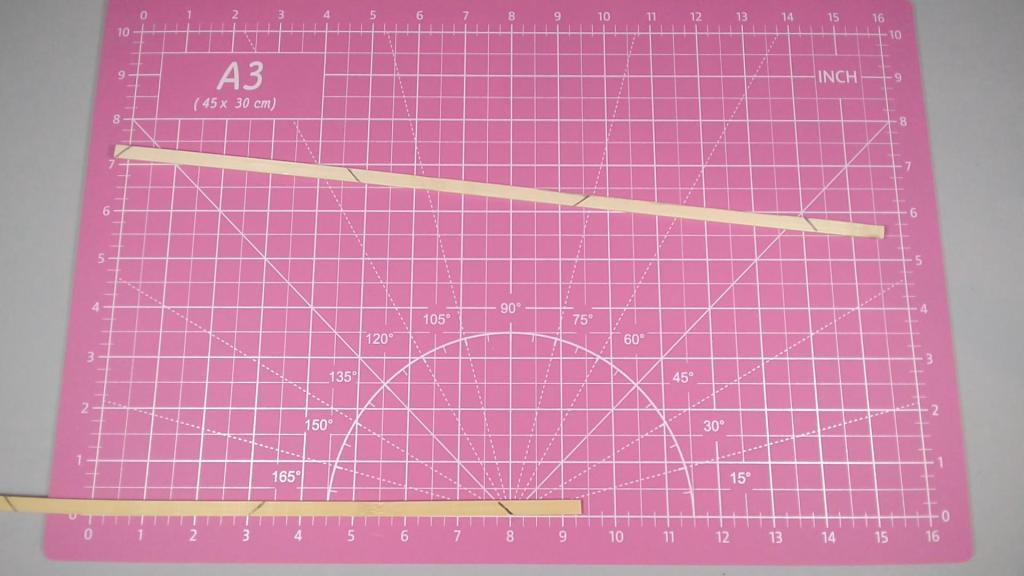
First, I measured and cut two of the bamboo sticks to a length of 14″, and six of the coffee stirrers to a length of 4″.
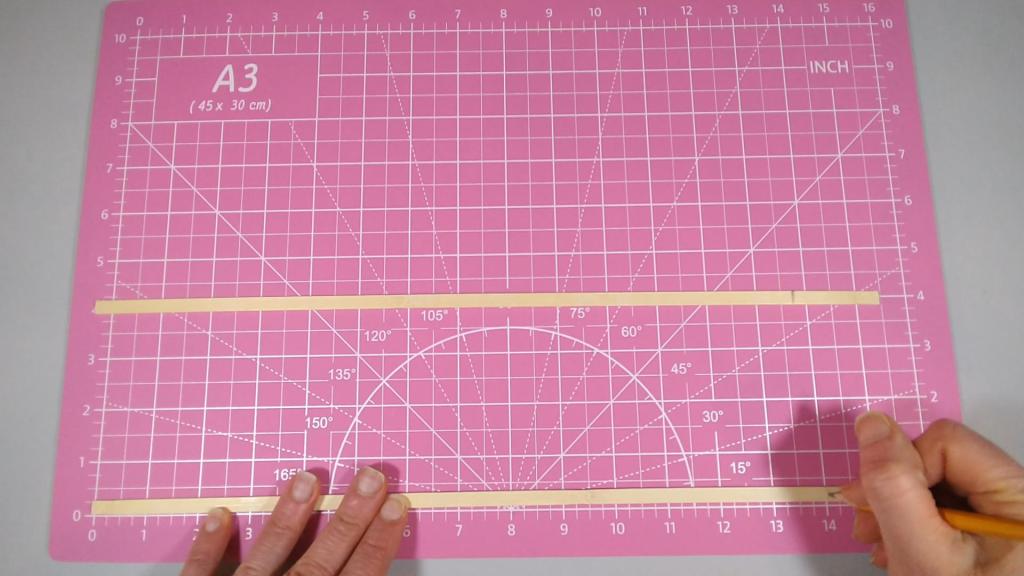
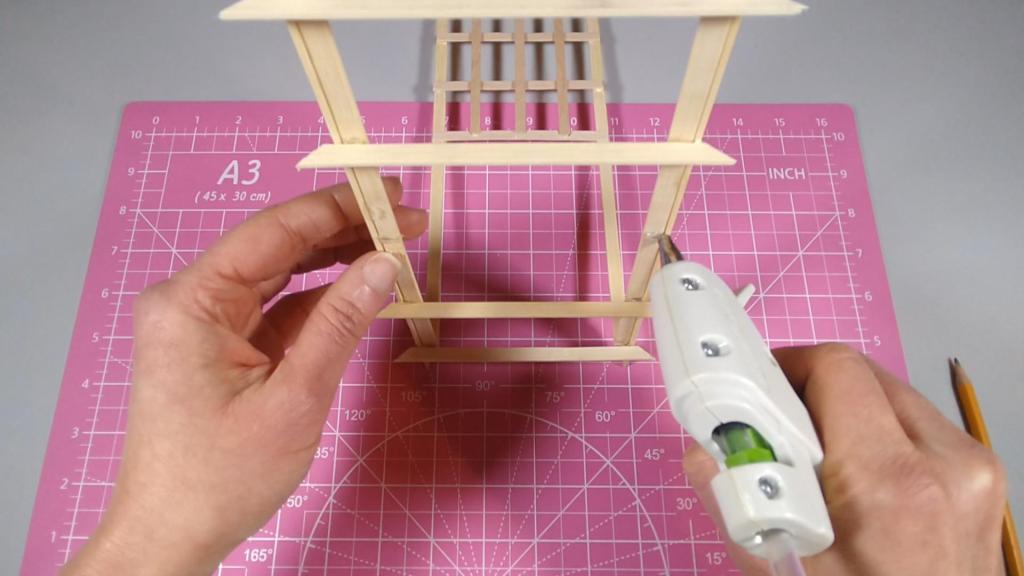
I adhered the two bamboo sticks to the board at the 0 and 4″ marks, using the mounting putty.
To form the horizontal rungs of the trellis, I lined up the 4″ coffee stirrers at each 1.5″ mark, then attached them to the bamboo sticks with the hot glue gun.

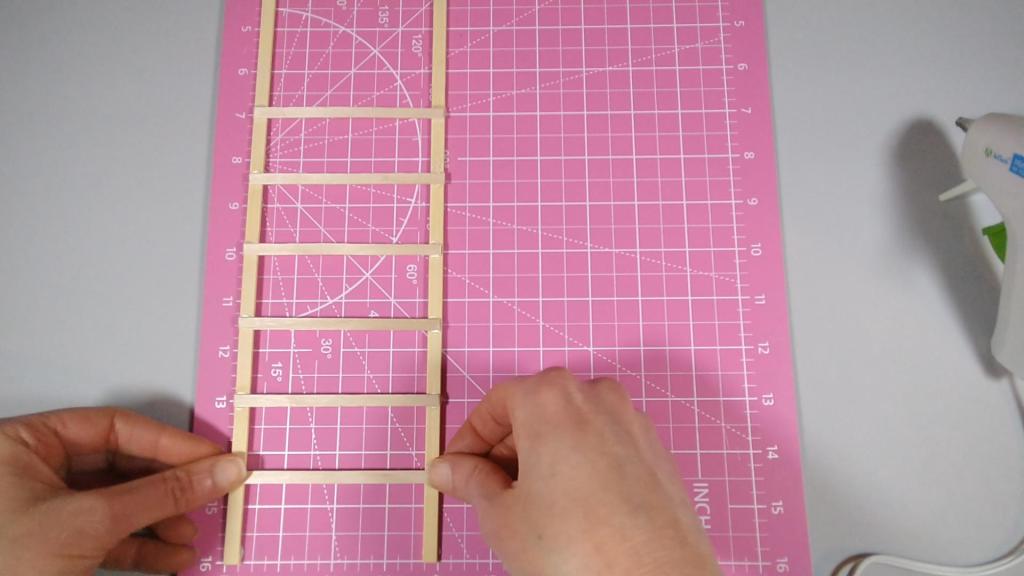
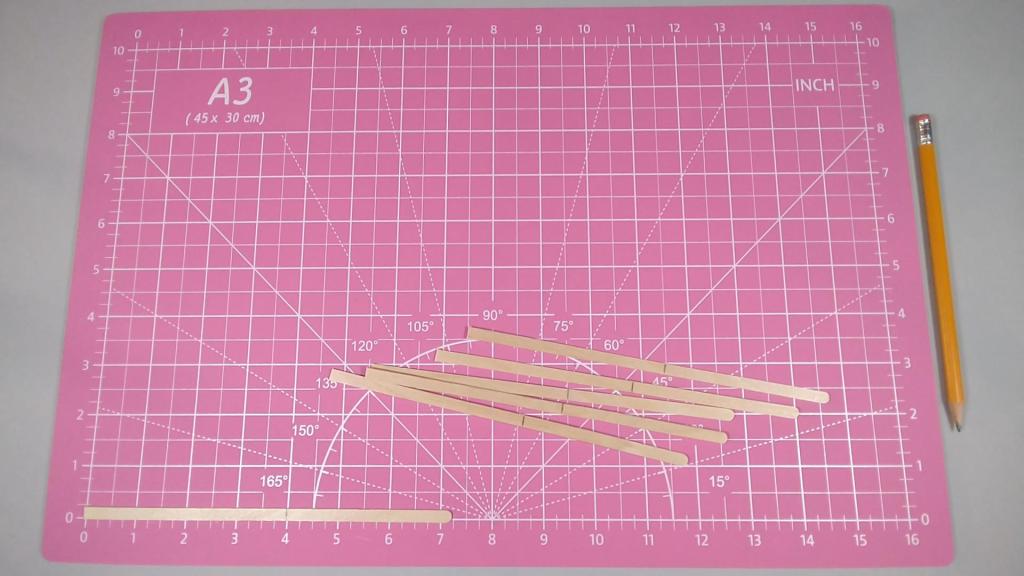
For the vertical rungs of the trellis, I took three uncut coffee stirrers, and lined them up at each 1″ mark. I then attached these to the trellis rungs using the hot glue gun.
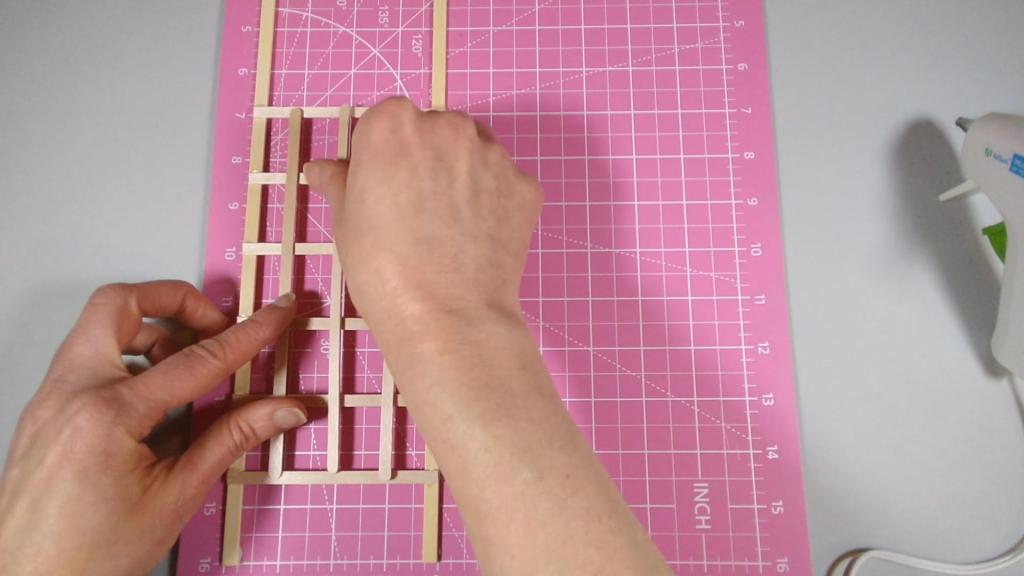

I repeated this process a second time for the opposite side of the arbor.
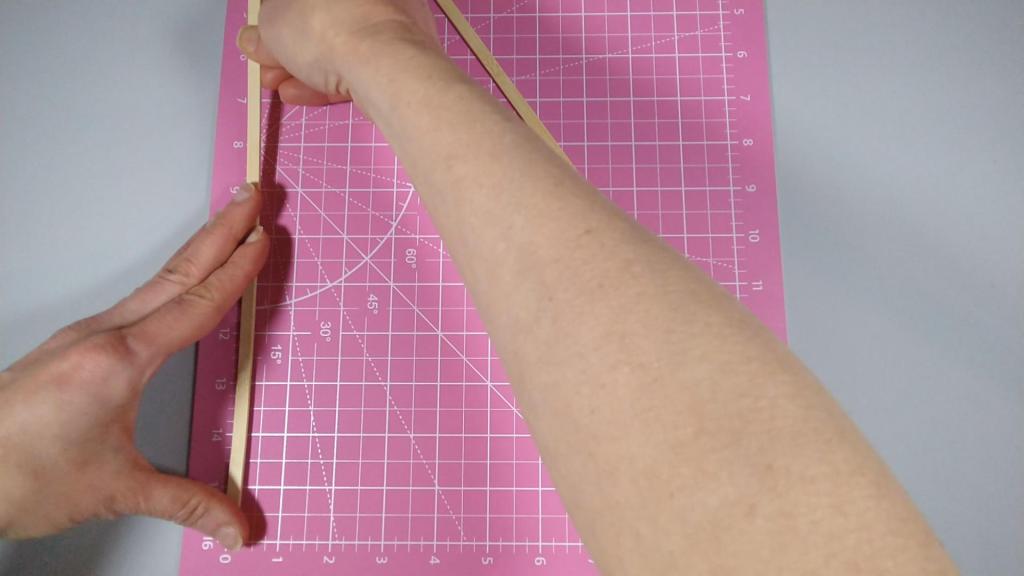
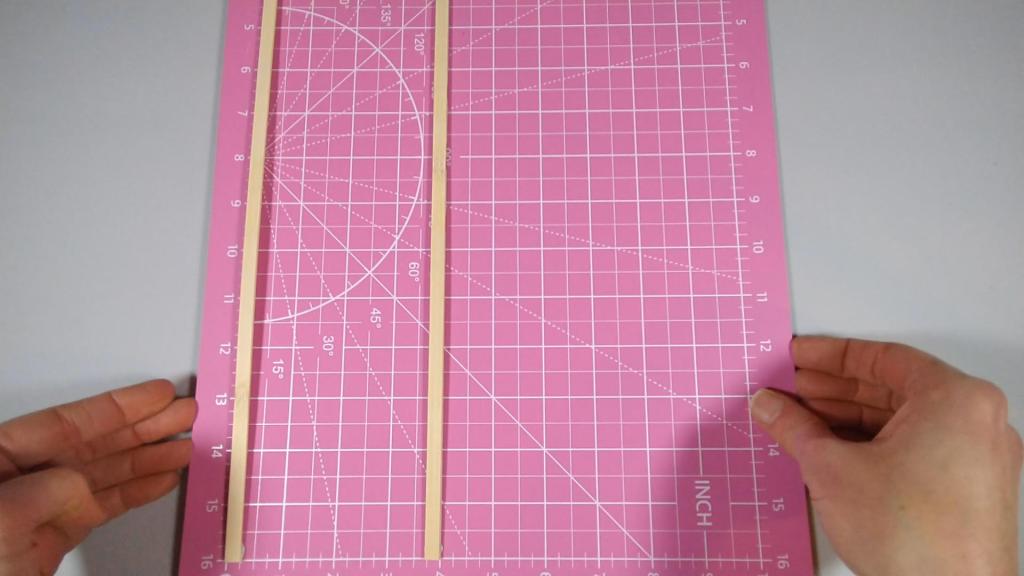
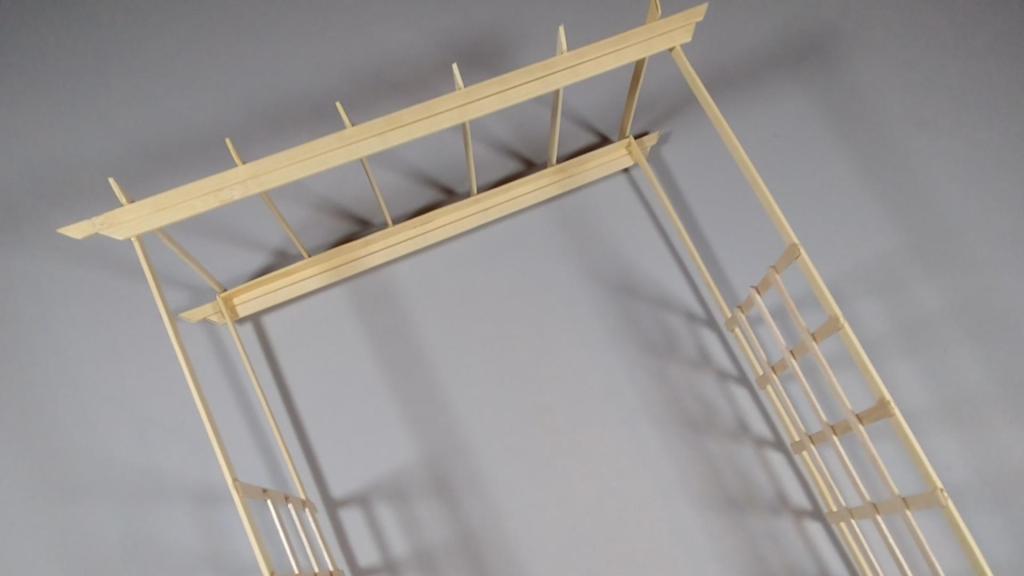
With the foundation of the arbor complete, it was time to construct the top. I measured and cut two bamboo sticks 10″ to form the top support beam for the arbor. I then attached these to each side piece using the hot glue gun.

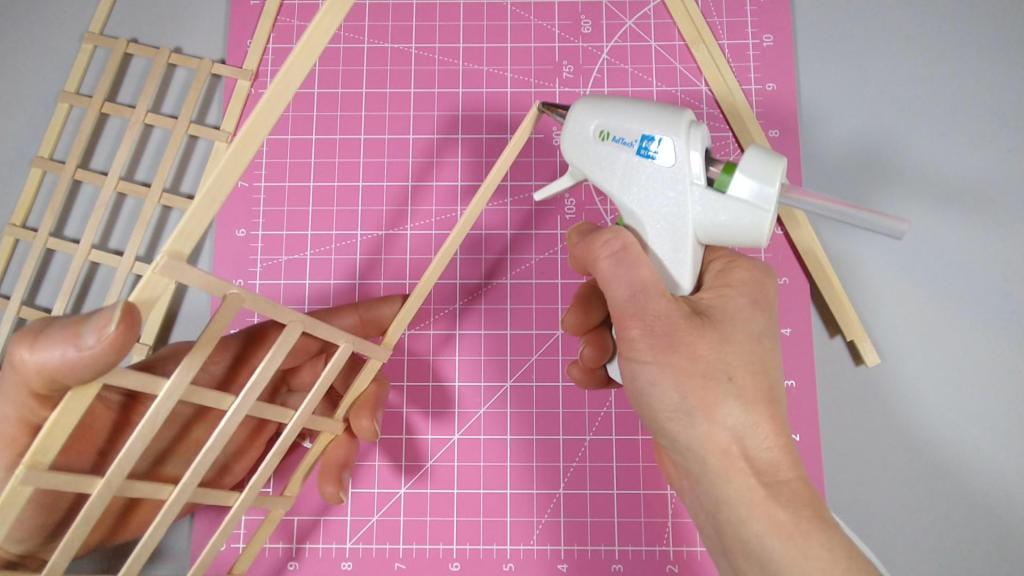
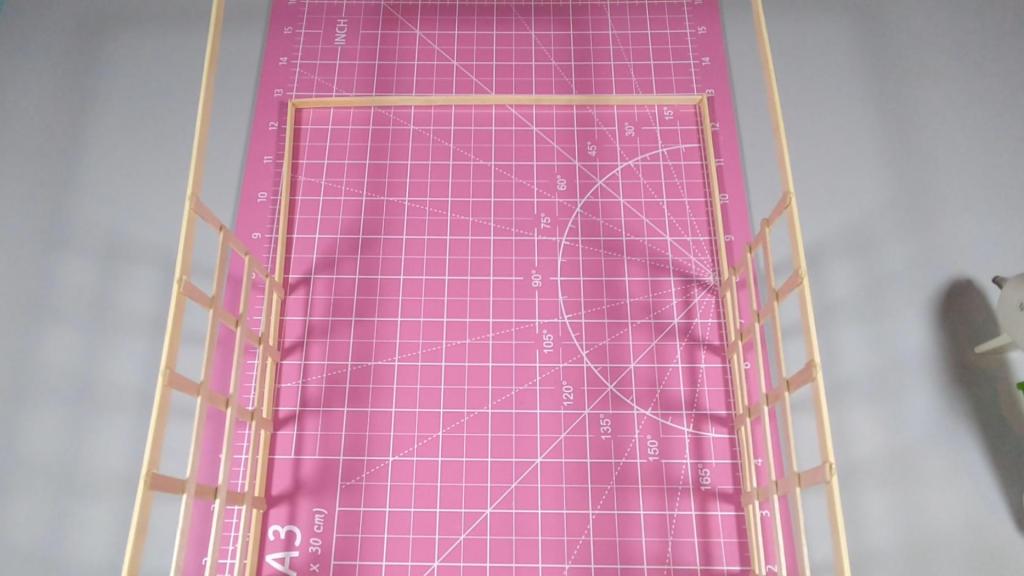
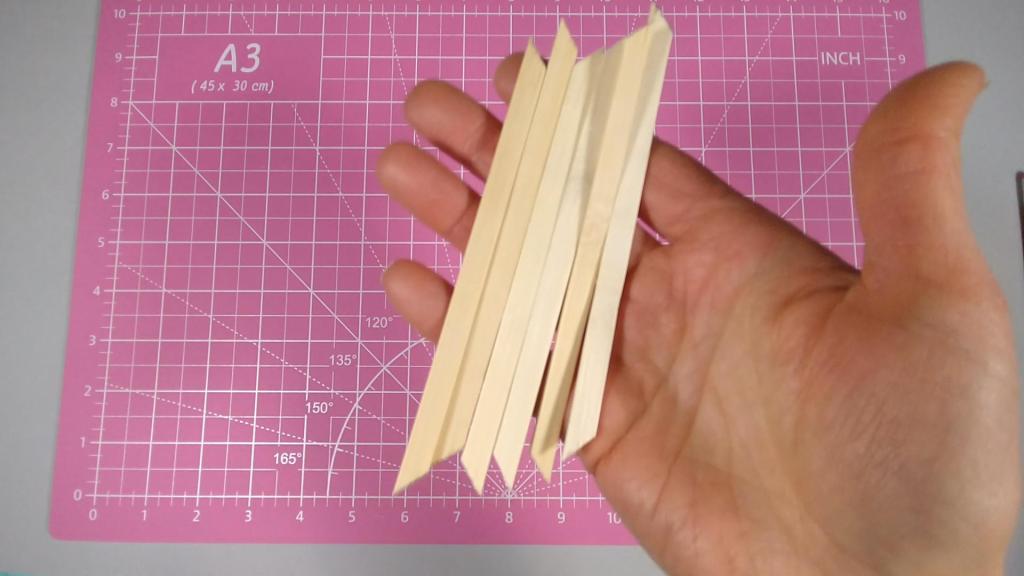
Now, it was time to mark and cut some trim pieces for the top of the arbor. I cut two 11″ and two 12″ bamboo sticks, with a 45 degree angle at each end.

I then glued these along the top of the arbor, for decoration and additional structural support.

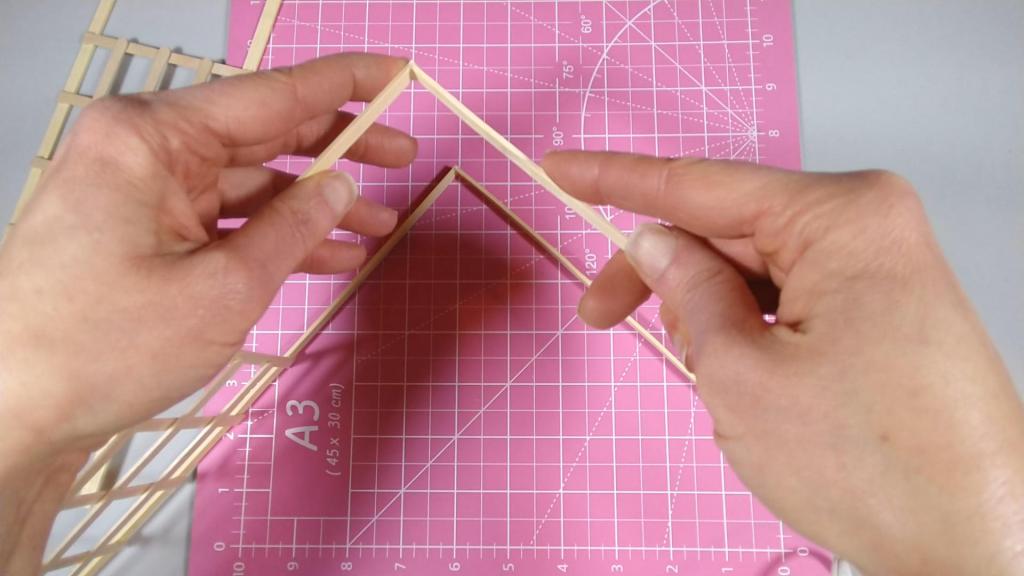
Last, I cut two bamboo sticks into six 5″ lengths, with 45 degree angles at the end.
I attached these pieces along the top of the arbor, spaced 2″ apart. With that, my garden arbor was complete!
This craft was a good challenge for me. I’m looking forward to using it in a garden and as a wedding photo backdrop.
Thanks for visiting, and happy crafting!

![DIY Mini Egg Chair Swing Stand [6:1 Fashion Doll Scale]](https://makeitmyowncrafts.com/wp-content/uploads/2025/05/snapshot-6.jpg?w=1024)
![DIY Mini Egg Chair Cushion [6:1 Fashion Doll Scale]](https://makeitmyowncrafts.com/wp-content/uploads/2025/05/snapshot-5.jpg?w=1024)
![DIY Mini Egg Chair Swing [6:1 Fashion Doll Scale]](https://makeitmyowncrafts.com/wp-content/uploads/2025/05/img_20250525_114014199.jpg?w=1024)
![DIY Mini Garden Bench [6:1 Fashion Doll Scale]](https://makeitmyowncrafts.com/wp-content/uploads/2025/05/img_20250519_191541270.jpg?w=1024)
![DIY Mini School Window [6:1 Fashion Doll Scale]](https://makeitmyowncrafts.com/wp-content/uploads/2025/05/img_20250520_115912364.jpg?w=1024)
![DIY Mini Split-Rail Fence [6:1 Fashion Doll Scale]](https://makeitmyowncrafts.com/wp-content/uploads/2025/05/img_20250518_105522853.jpg?w=1024)

Leave a comment