The fashion dolls I’ve encountered aren’t able to close their eyes. Hence, to help them get some rest, an eye mask comes in handy.
Note the article below contains affiliate links. It helps me out if you use them, no worries in any case.
This is a very simple craft that can be completed in under an hour. I’ve included a free downloadable template to help speed up the process and remove some of the guesswork.
Supplies:
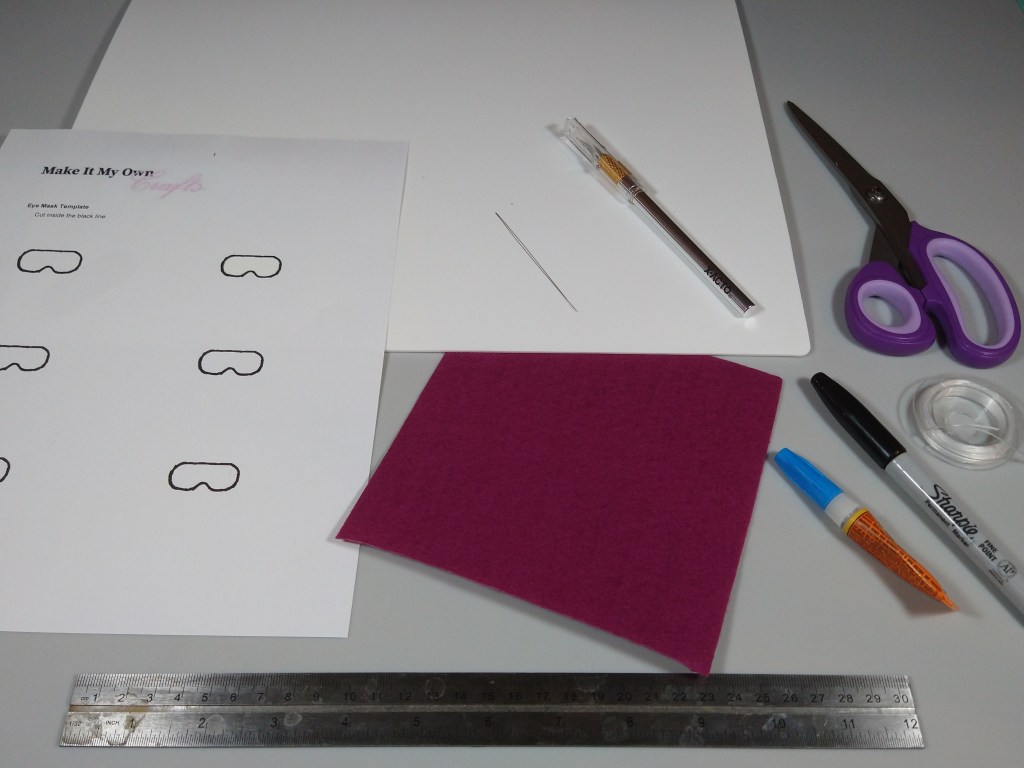
Felt: Any and all colors work here. This reddish-purple color spoke to me today. Thicker or thinner felts both work for this craft.
Elastic String, 0.7mm: I used thin, transparent elastic beading string and it worked well. I didn’t want something too thick and I wanted enough stretch to go around my doll’s head.
Big Eye Beading Needle: One of my new favorite tools. So easy and painless to thread the needle.
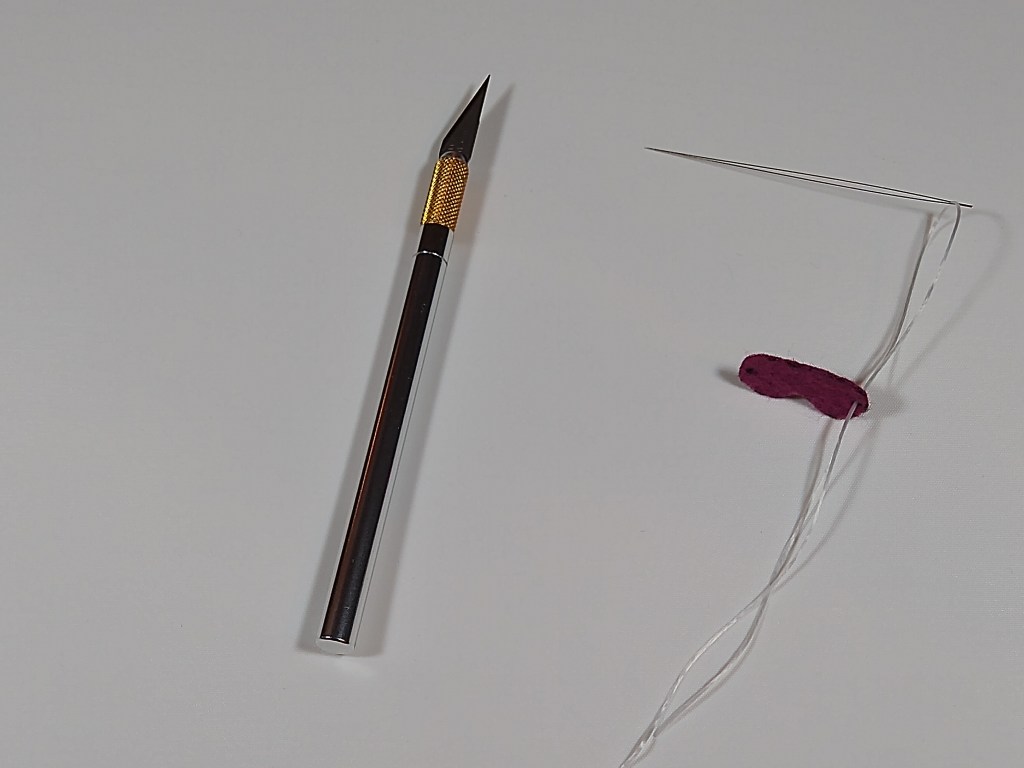
Craft Knife & Cutting Board: The ability to make precise cuts was handy in this craft. (Word of caution: a craft knife is a very sharp tool.)
Fabric Scissors: Regular scissors can also work well enough here in a pinch.
Craft Mat: Optional tool, helpful for cleanup and preventing stains/spills
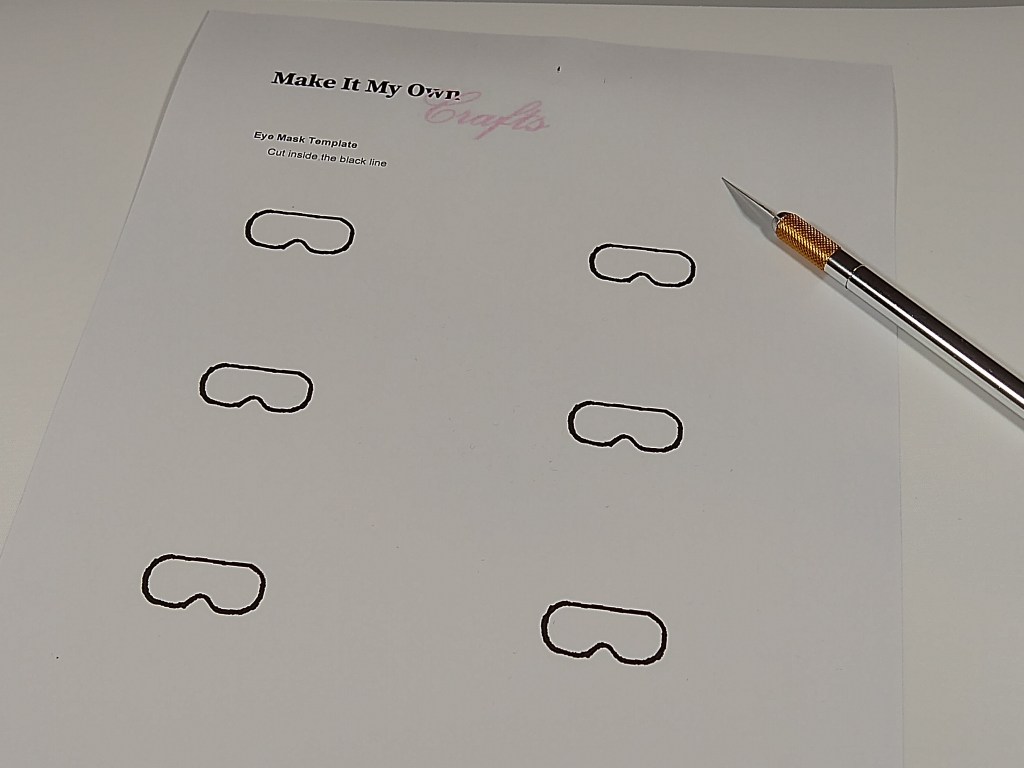
Free Downloadable Eye Mask Template pdf:
My Process:
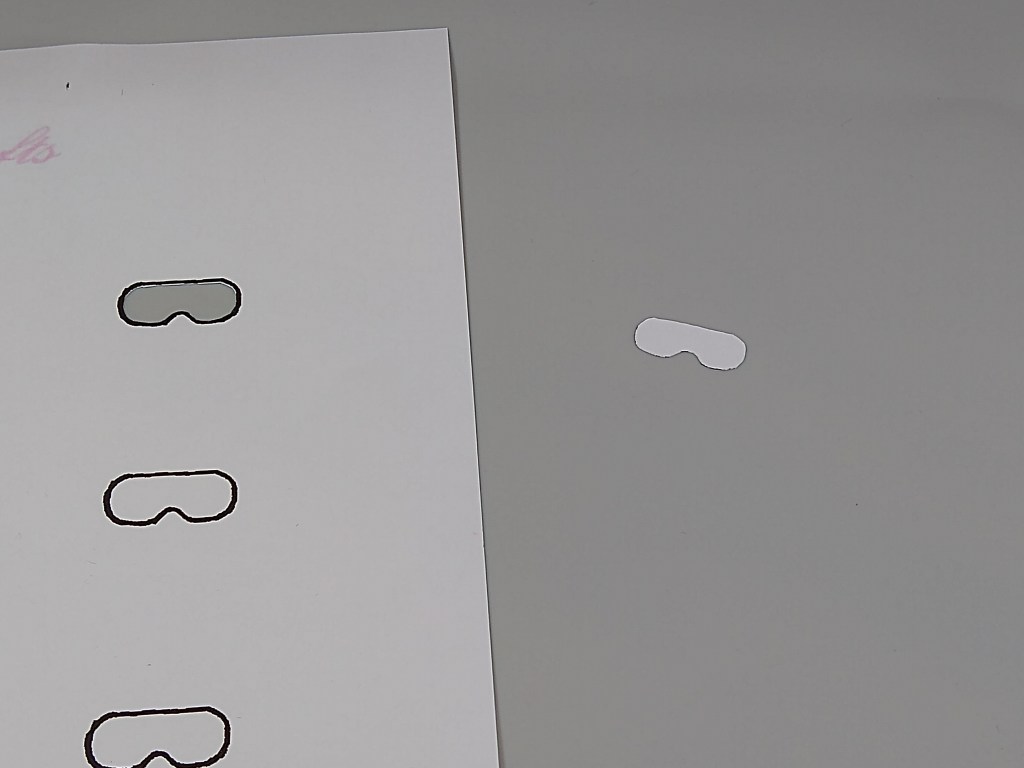
To start, I printed the template and cut out one of the eye mask outlines using the craft knife and cutting board.
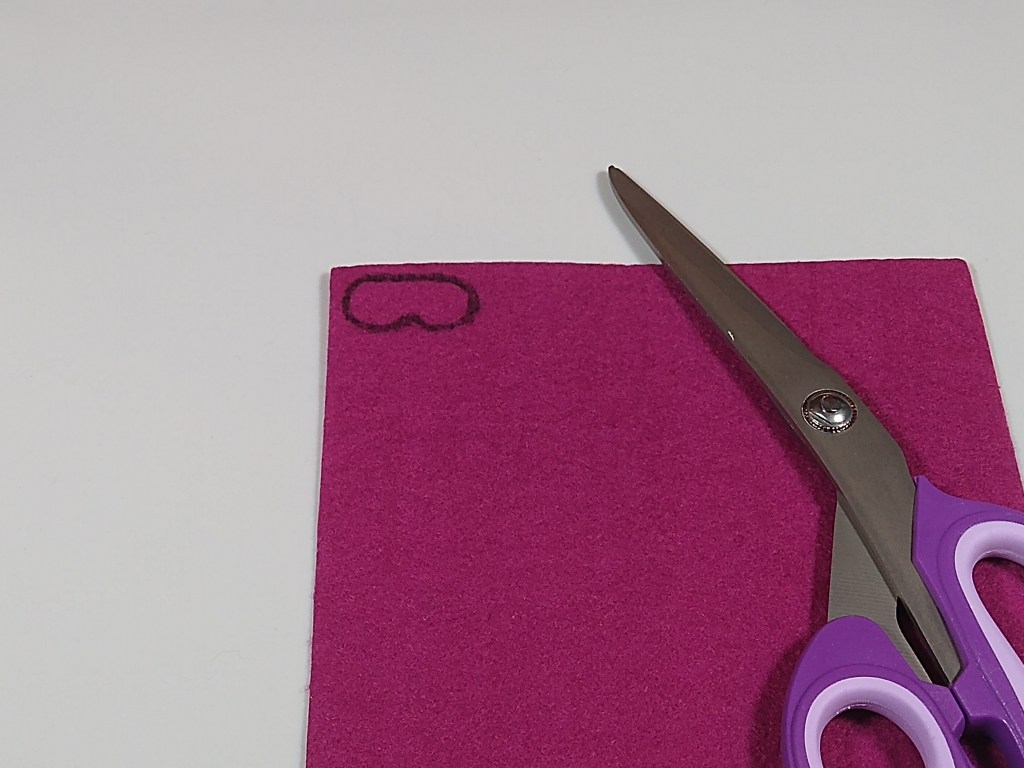
I then overlayed the eye mask cutout on top of the felt and traced an outline with the marker.

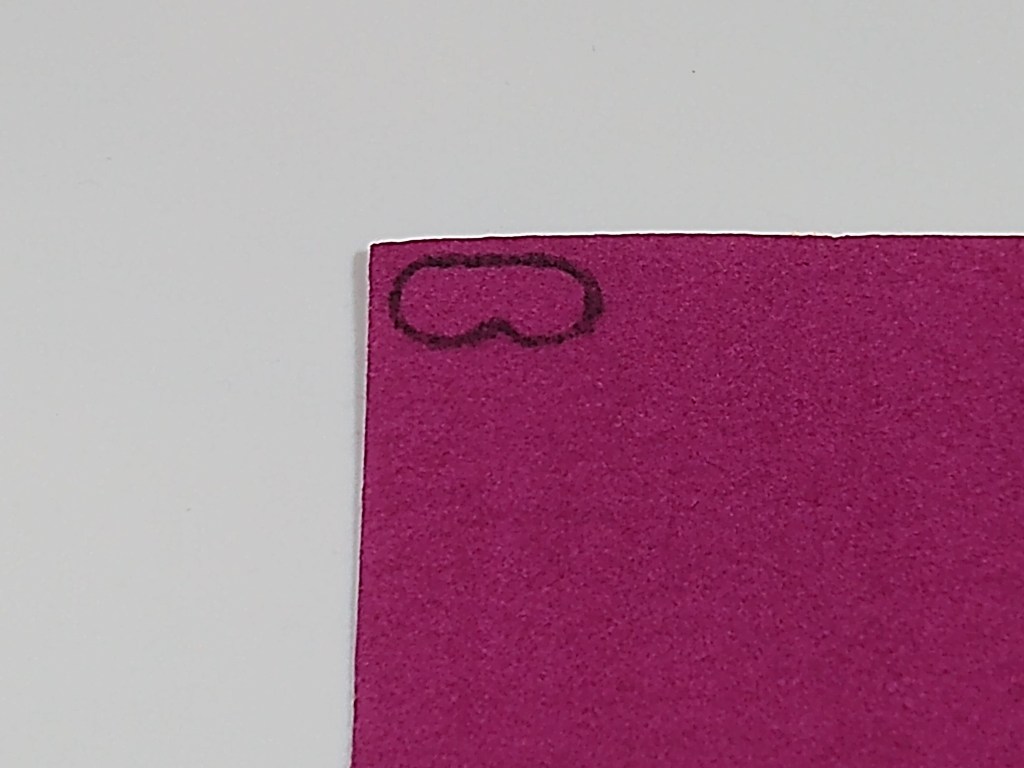
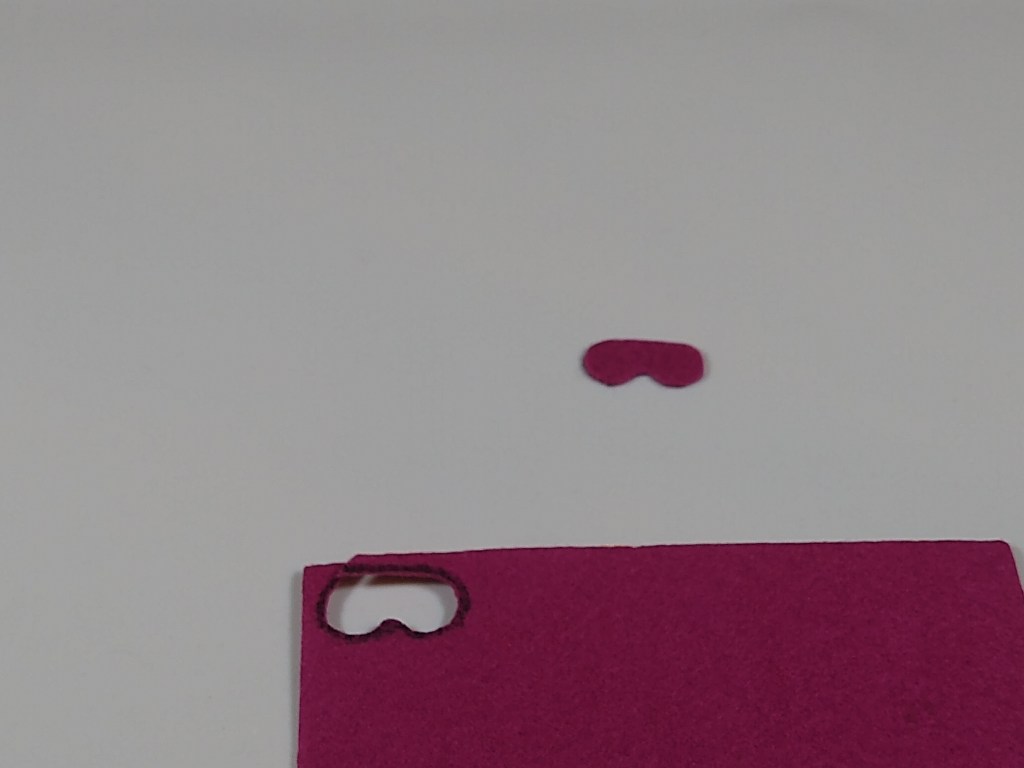
I cut the felt along the inside of the marker line with the fabric scissors.
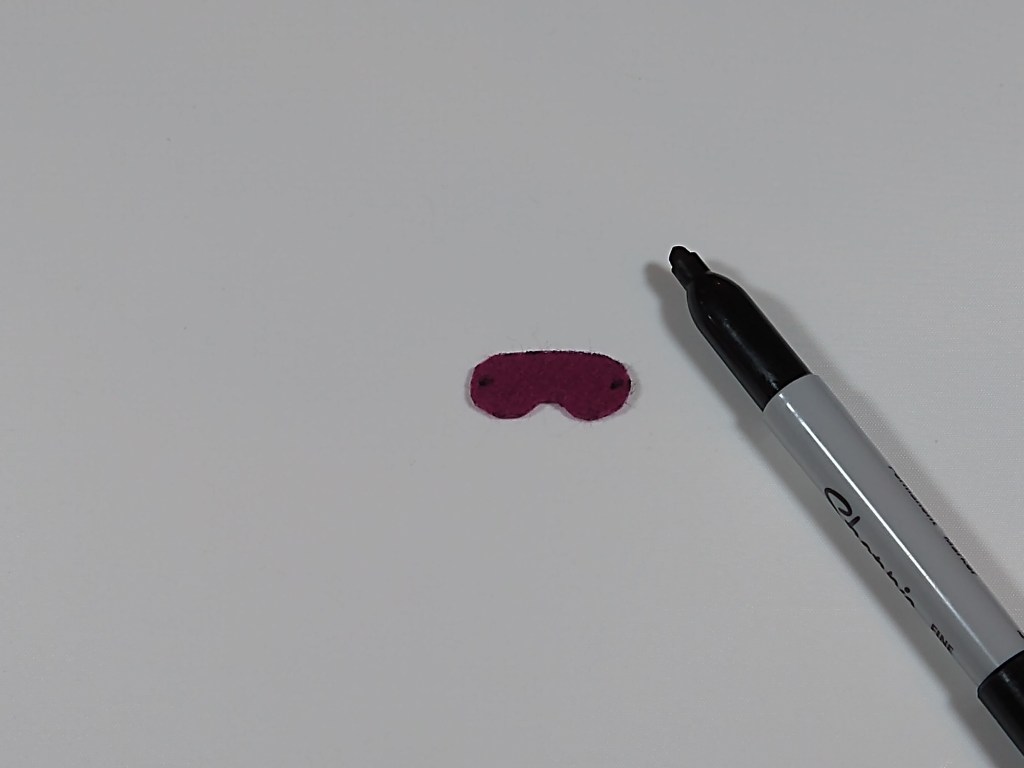
Next, I made two small dots with the marker on either side of the mask for where the elastic string would attach.
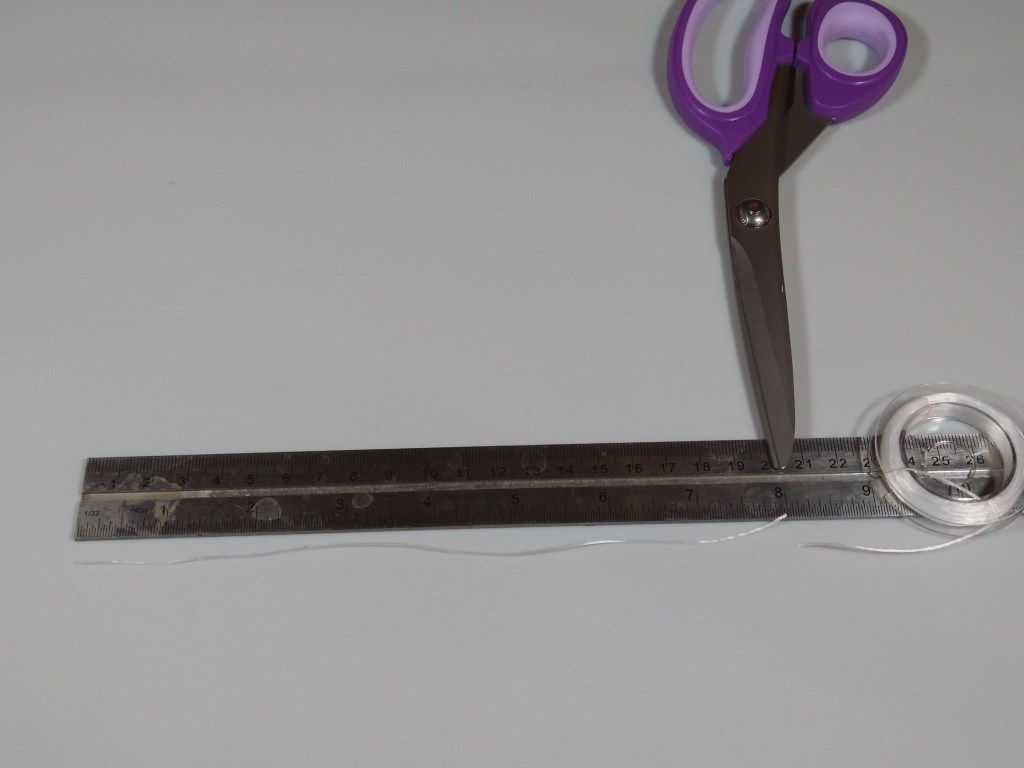
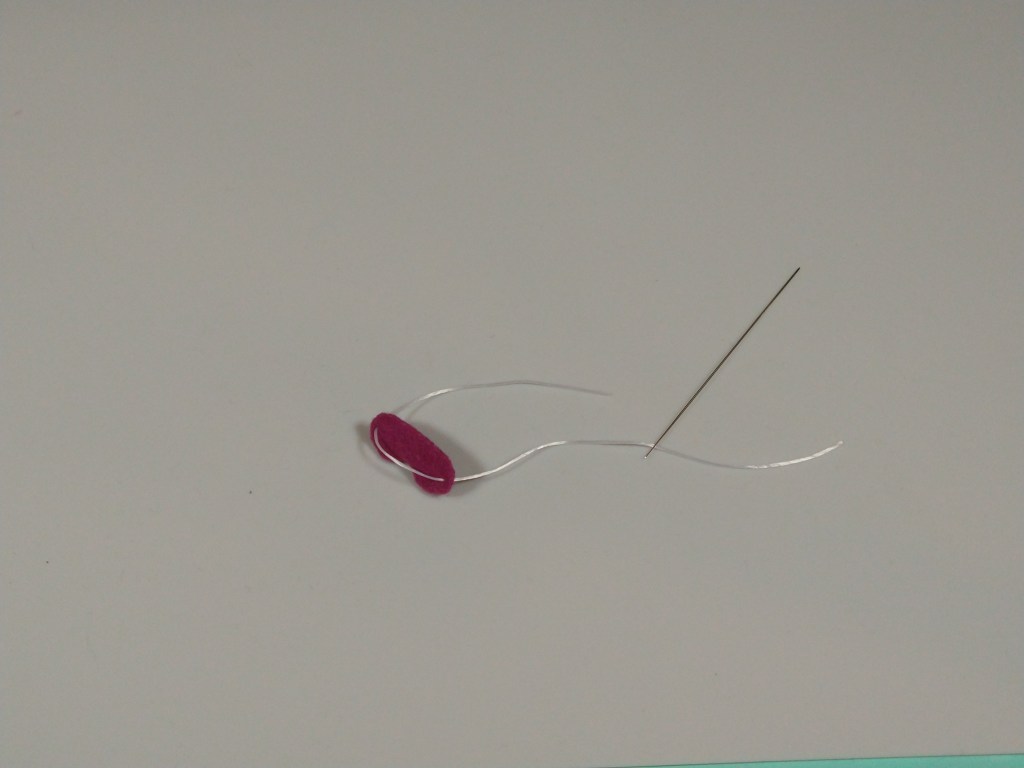
Using the craft knife and cutting board, I poked two small holes into the felt at the marked spots. I then cut 8″ of elastic thread, threaded it onto the big eye beading needle, and pulled the needle through the holes.
I pulled the needle through one hole and then through the other, drawing the string through so that one end of the string was through the holes and I could remove the needle from the other side.
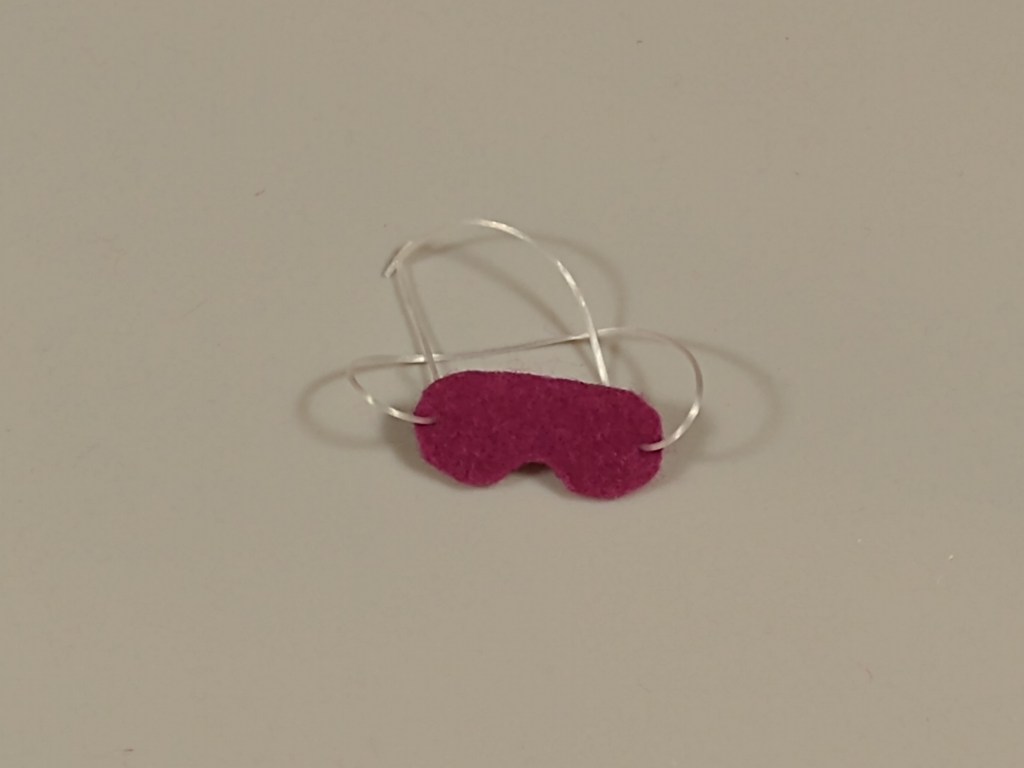
I removed the needle and tied a double knot with the two ends of the string, leaving about an inch of excess string on each free end. I secured the knot with a dab of super glue, trimmed the excess ends, and my mask was ready to go!
This was fun! I think perhaps I need a few more masks in different colors.
Thanks for visiting, and happy crafting!

![DIY Mini Egg Chair Swing Stand [6:1 Fashion Doll Scale]](https://makeitmyowncrafts.com/wp-content/uploads/2025/05/snapshot-6.jpg?w=1024)
![DIY Mini Egg Chair Cushion [6:1 Fashion Doll Scale]](https://makeitmyowncrafts.com/wp-content/uploads/2025/05/snapshot-5.jpg?w=1024)
![DIY Mini Egg Chair Swing [6:1 Fashion Doll Scale]](https://makeitmyowncrafts.com/wp-content/uploads/2025/05/img_20250525_114014199.jpg?w=1024)
![DIY Mini Garden Bench [6:1 Fashion Doll Scale]](https://makeitmyowncrafts.com/wp-content/uploads/2025/05/img_20250519_191541270.jpg?w=1024)
![DIY Mini School Window [6:1 Fashion Doll Scale]](https://makeitmyowncrafts.com/wp-content/uploads/2025/05/img_20250520_115912364.jpg?w=1024)
![DIY Mini Split-Rail Fence [6:1 Fashion Doll Scale]](https://makeitmyowncrafts.com/wp-content/uploads/2025/05/img_20250518_105522853.jpg?w=1024)

Leave a comment